Virtualization
What is Virtualization?
Virtualization is an add-on platform feature that makes it possible to integrate a manual analysis that are locally executed into data processing workflows.
This feature facilitates:
- Interactive analysis that requires judgment in a rich, scientifically familiar user experience
- Traceability - all users can see sessions that have been created, the user who created each session, input and output files, and users who have accessed each session.
- Flexibility - the ability to incorporate encrypted files or proprietary binary access in a data pipeline that captures analyses in a structured, machine-readable format
- Collaboration - virtualization sessions can be opened or shared with colleagues so that live collaboration can take place in the session
- Scalability - users have access to an environment that can flexibly scale up compute resources as needed. RAM-intensive applications can run more easily, minimizing the risk that an app will crash and lose a user's progress.
Some examples of analyses that could be suitable are:
- flow cytometry gating
- protein structure analysis
- microscopy image analysis
- gel electrophoresis band quantification
- ddPCR analysis
- statistical charting / data visualization
To use this feature, scientists select files relevant files for processing from the File Browser, conduct an analysis in the software, and then store relevant results back to Ganymede File Storage by saving output files in the appropriate location.
Pleaes reach out to Ganymede to explore your specific use case.
Using Virtualization
Users can start a session from the File Browser by selecting files and the relevant App. The selected files will become input files to the session and will appear in the C:\Users\appuser\Desktop\input_files directory.
Starting a Session
- Navigate to the File Browser.
- Filter for the relevant files to bring into the session.
- Select the relevant files by using the checkboxes to the left.
- The checkbox in the top-left corner of the table will select all files on the current page. Traversing multiple pages to select files is possible, as files will remain selected.
- In the top-right corner, a Run Application button will become clickable. Hover over the button and select the relevant app from the dropdown.

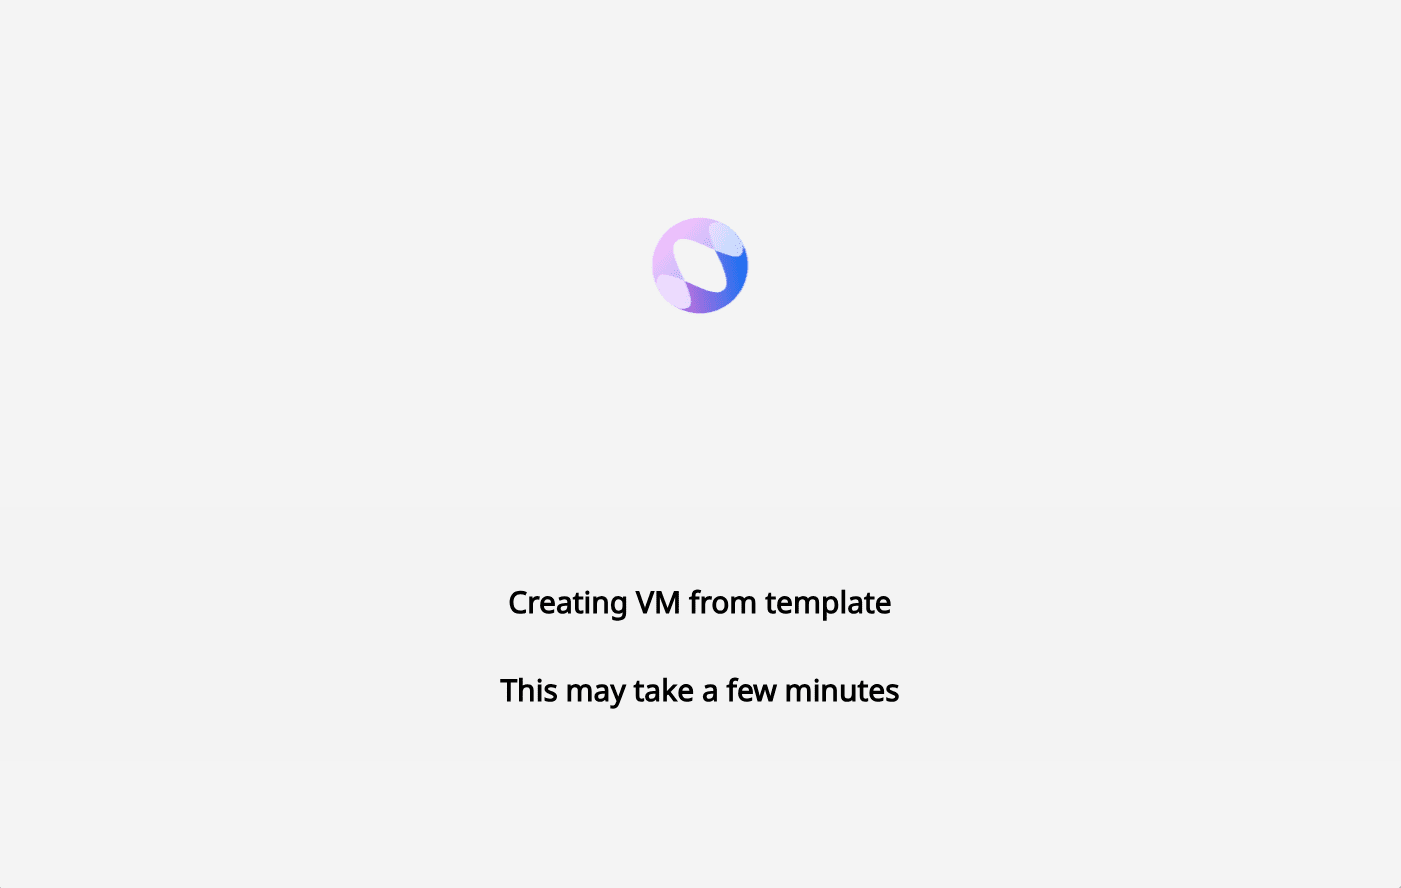
- In a new window, the virtualization session will start loading. New sessions typically take about 2-3 minutes for creation. You are welcome to navigate away from the session while it loads in the background - if the window is closed, you can navigate back to the session through the Sessions page in the left sidebar of the Ganymede app.
Using a Session
Logging into a session
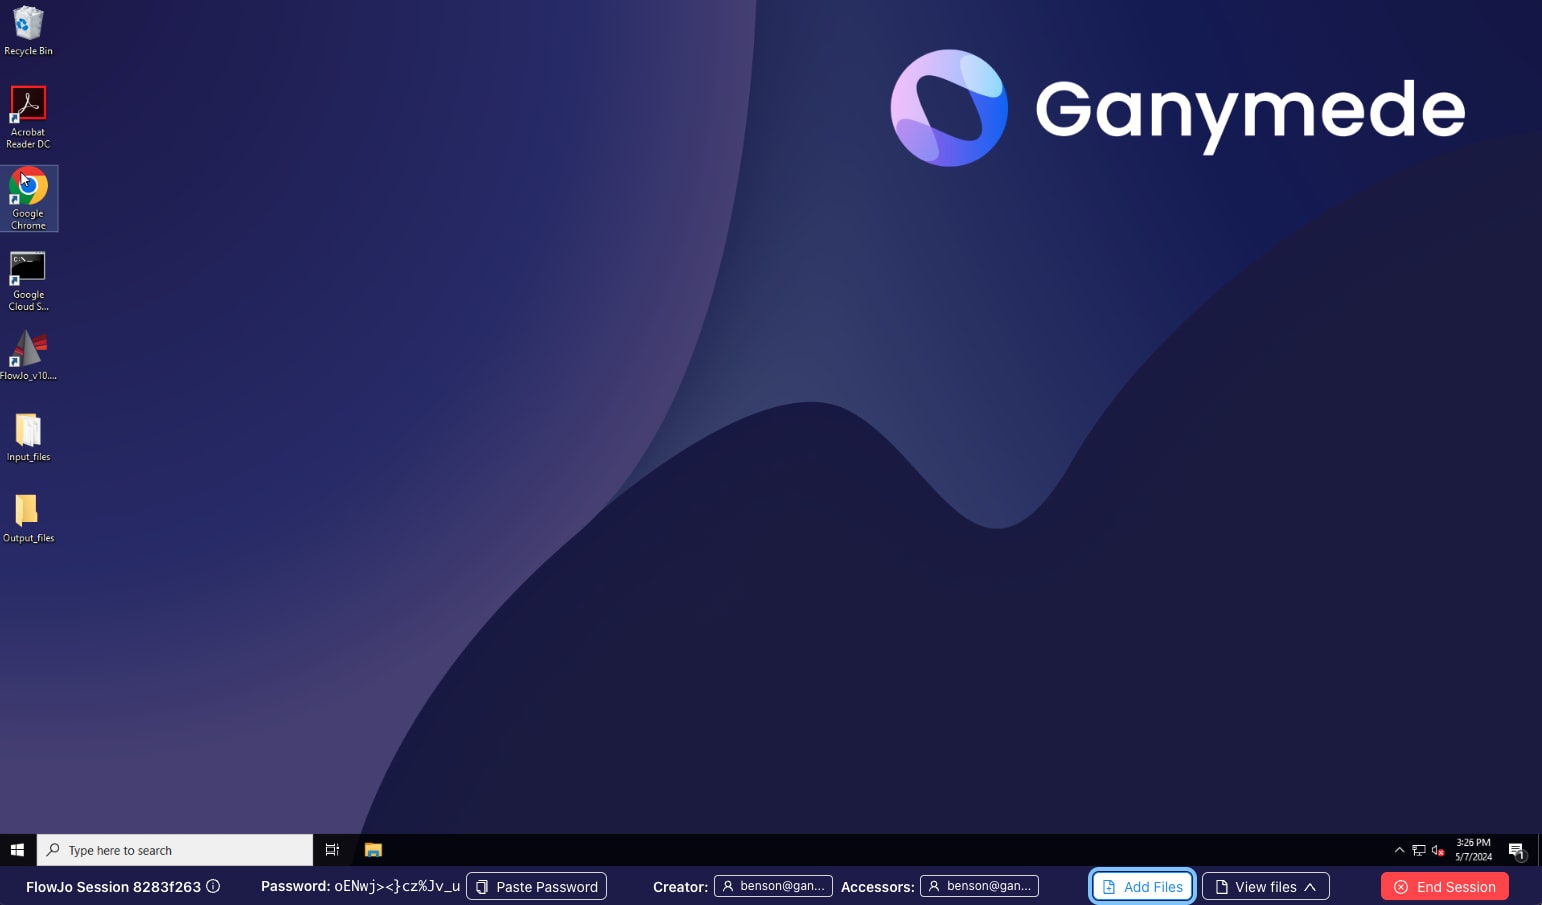
When the session first loads, you will see a Windows lock screen with a Ganymede background.
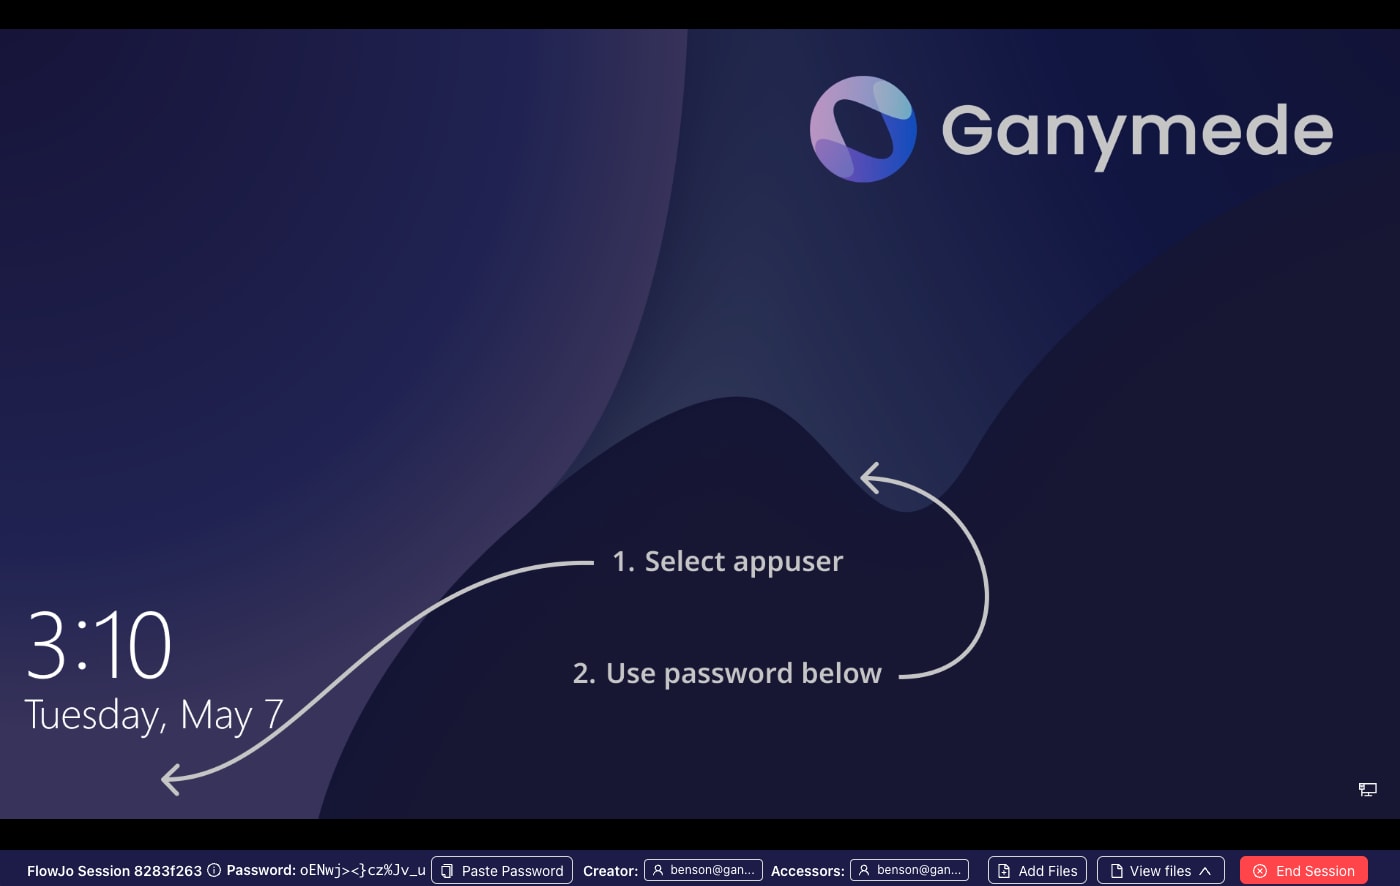
- Click anywhere for the user login to appear.
- As denoted by the arrows, you will need to select the “appuser” account.
- The session password is displayed at the bottom of the screen. Click on the button and paste it into the password field.
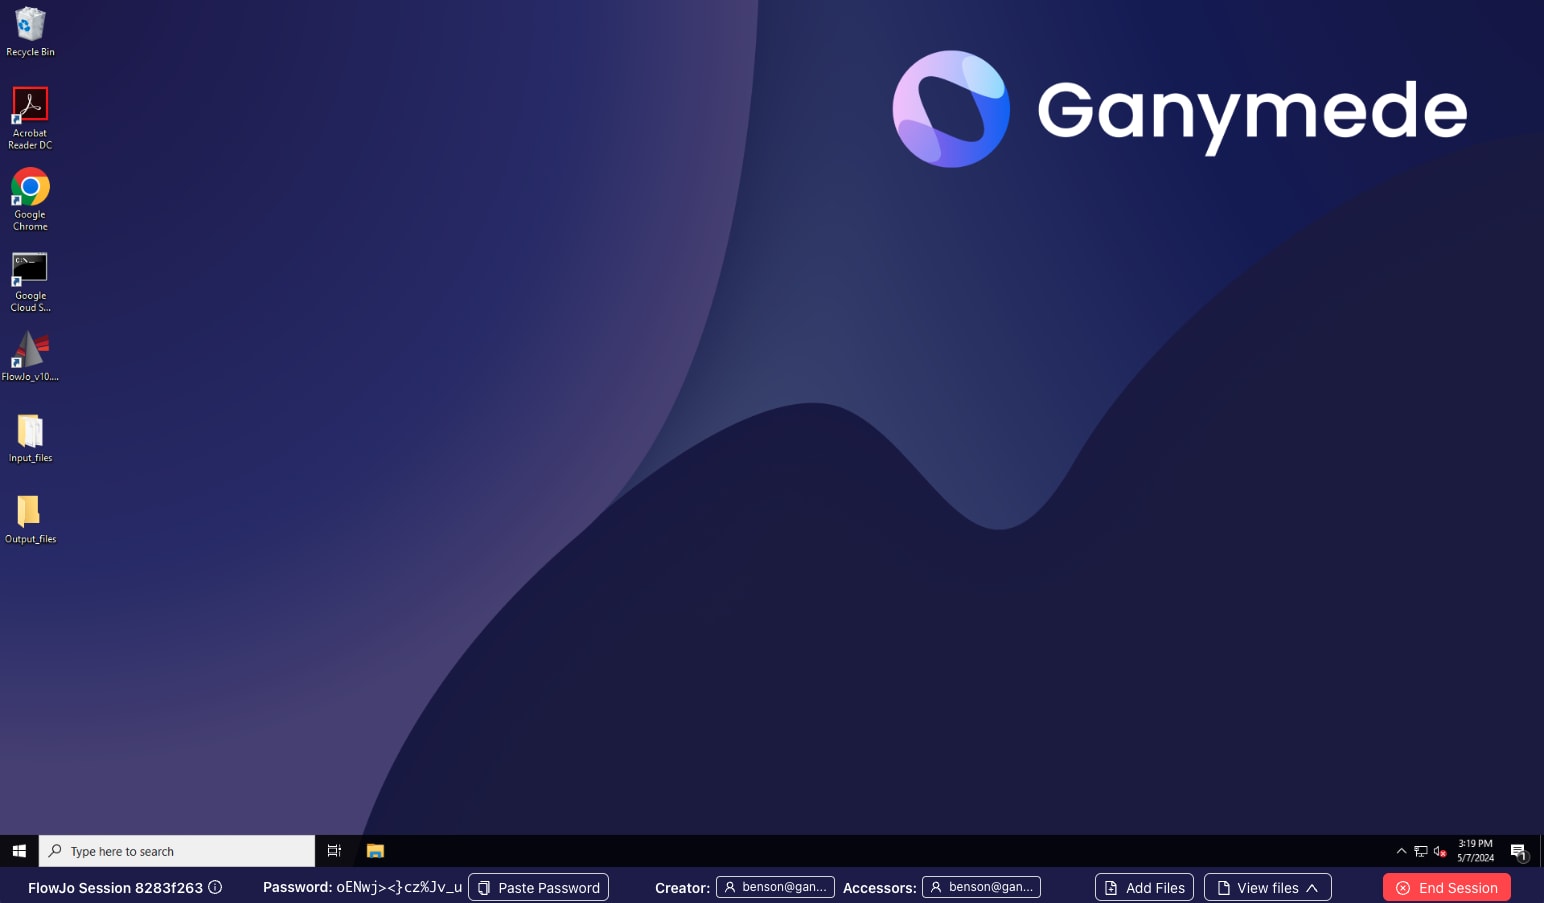
Once the session is opened, a Windows desktop appears. On the desktop, there is a directory called “Input_Files”. In this directory are the files that were selected in the File Browser during session creation.
Adding files to a session
If there are additional files that need to be added to a session, a user can either add files from the Sessions page or from within a session itself.
To add files from the Sessions page within the Ganymede app:
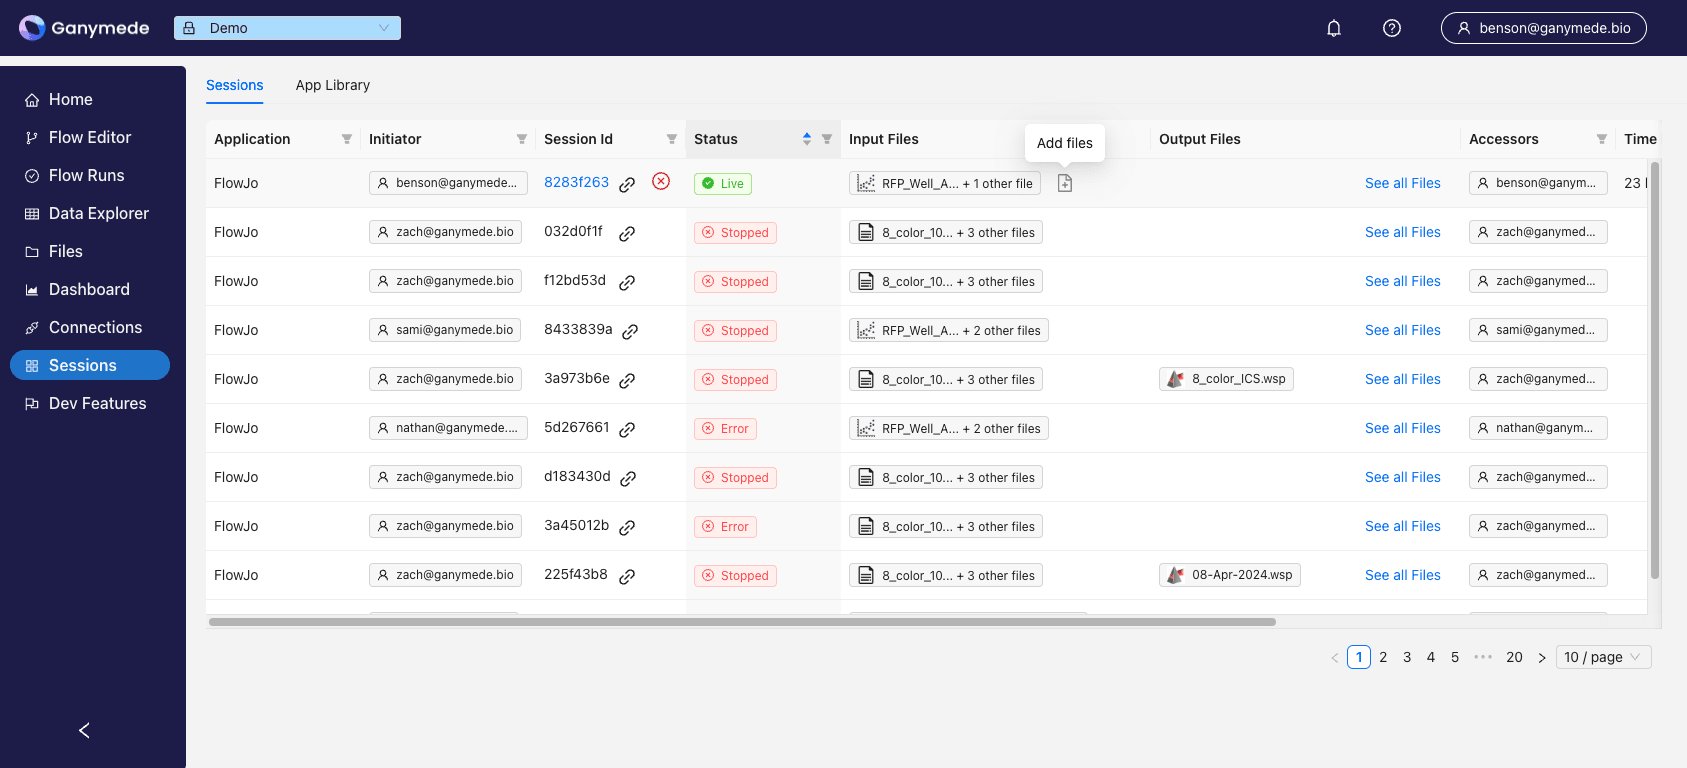
- Navigate to the relevant session on the Sessions page.
- To the right of the input files, click on the Add Files (+) icon.
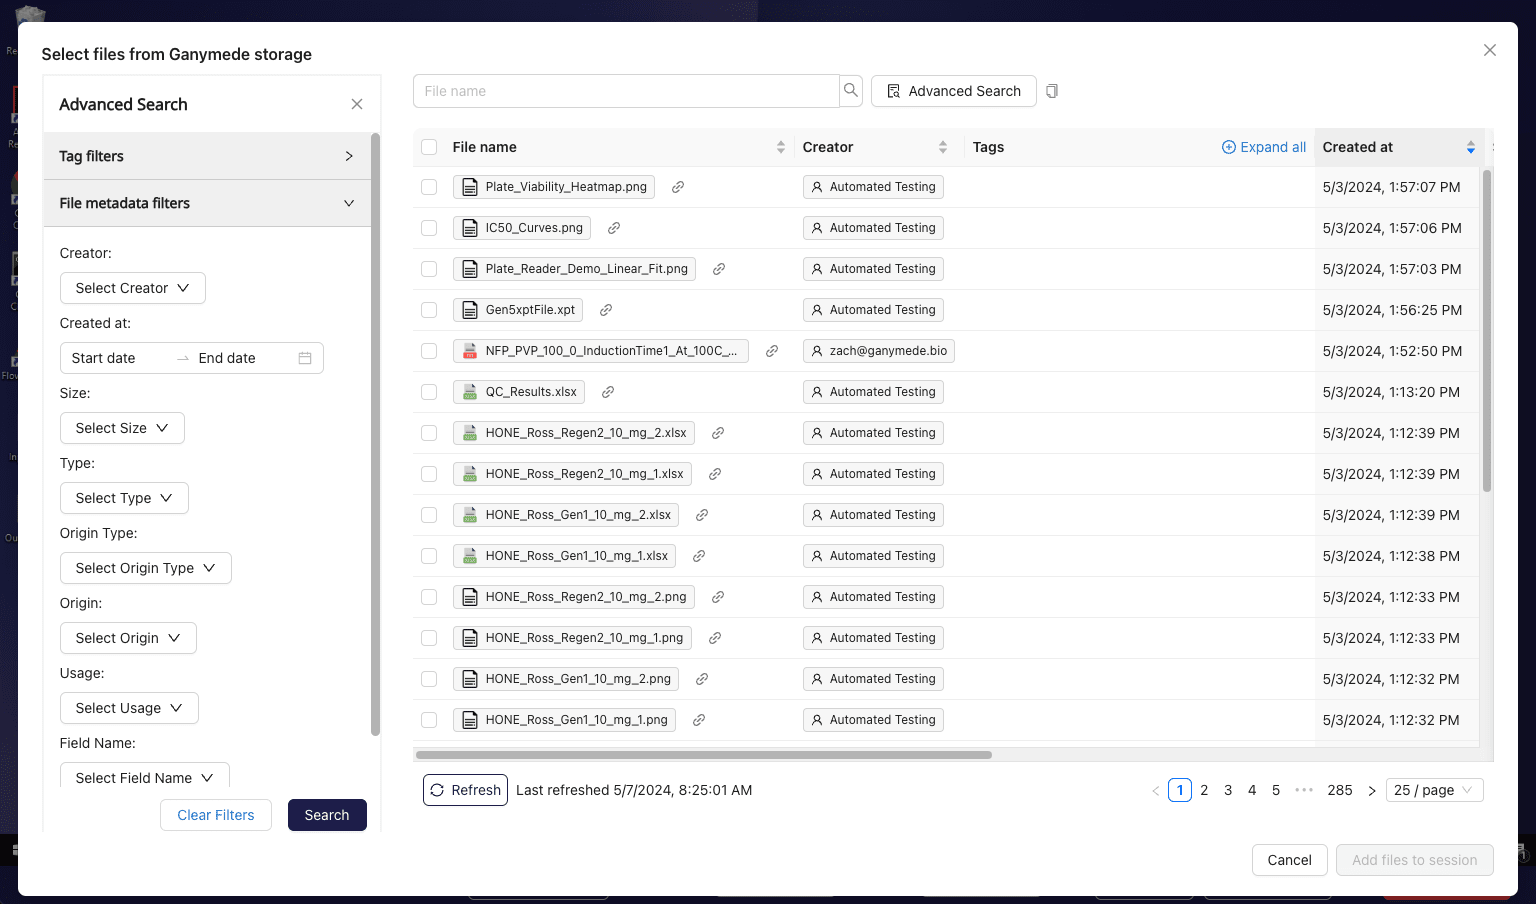
To add files from within a session, click on the Add Files button in the bottom bar of the session window
which launches a modal for selecting files from Ganymede data storage to add.
Storing files from a session
When the analysis is complete, the user can save the output files to Ganymede File Storage.
Please remember to capture output files, as any session files that are not captured as either input files or output files in Ganymede will be lost once the session ends.
To capture an output file:
- Navigate to the file that you want to save.
- Copy or move the file to the "Output_files" directory on the desktop. The full path of this directory is C:\Users\appuser\Desktop\Output_files. To verify that the files were captured as outputs, click on "Output Files" in the control bar at the bottom of the screen; the files should appear in the “Output Files” section.
- To view the output files in Ganymede, either select “View Output Files” or the file chips themselves. This will redirect you to the File Browser in Ganymede; you may need to refresh the File Browser for recent files to appear.
