External Platform Integration
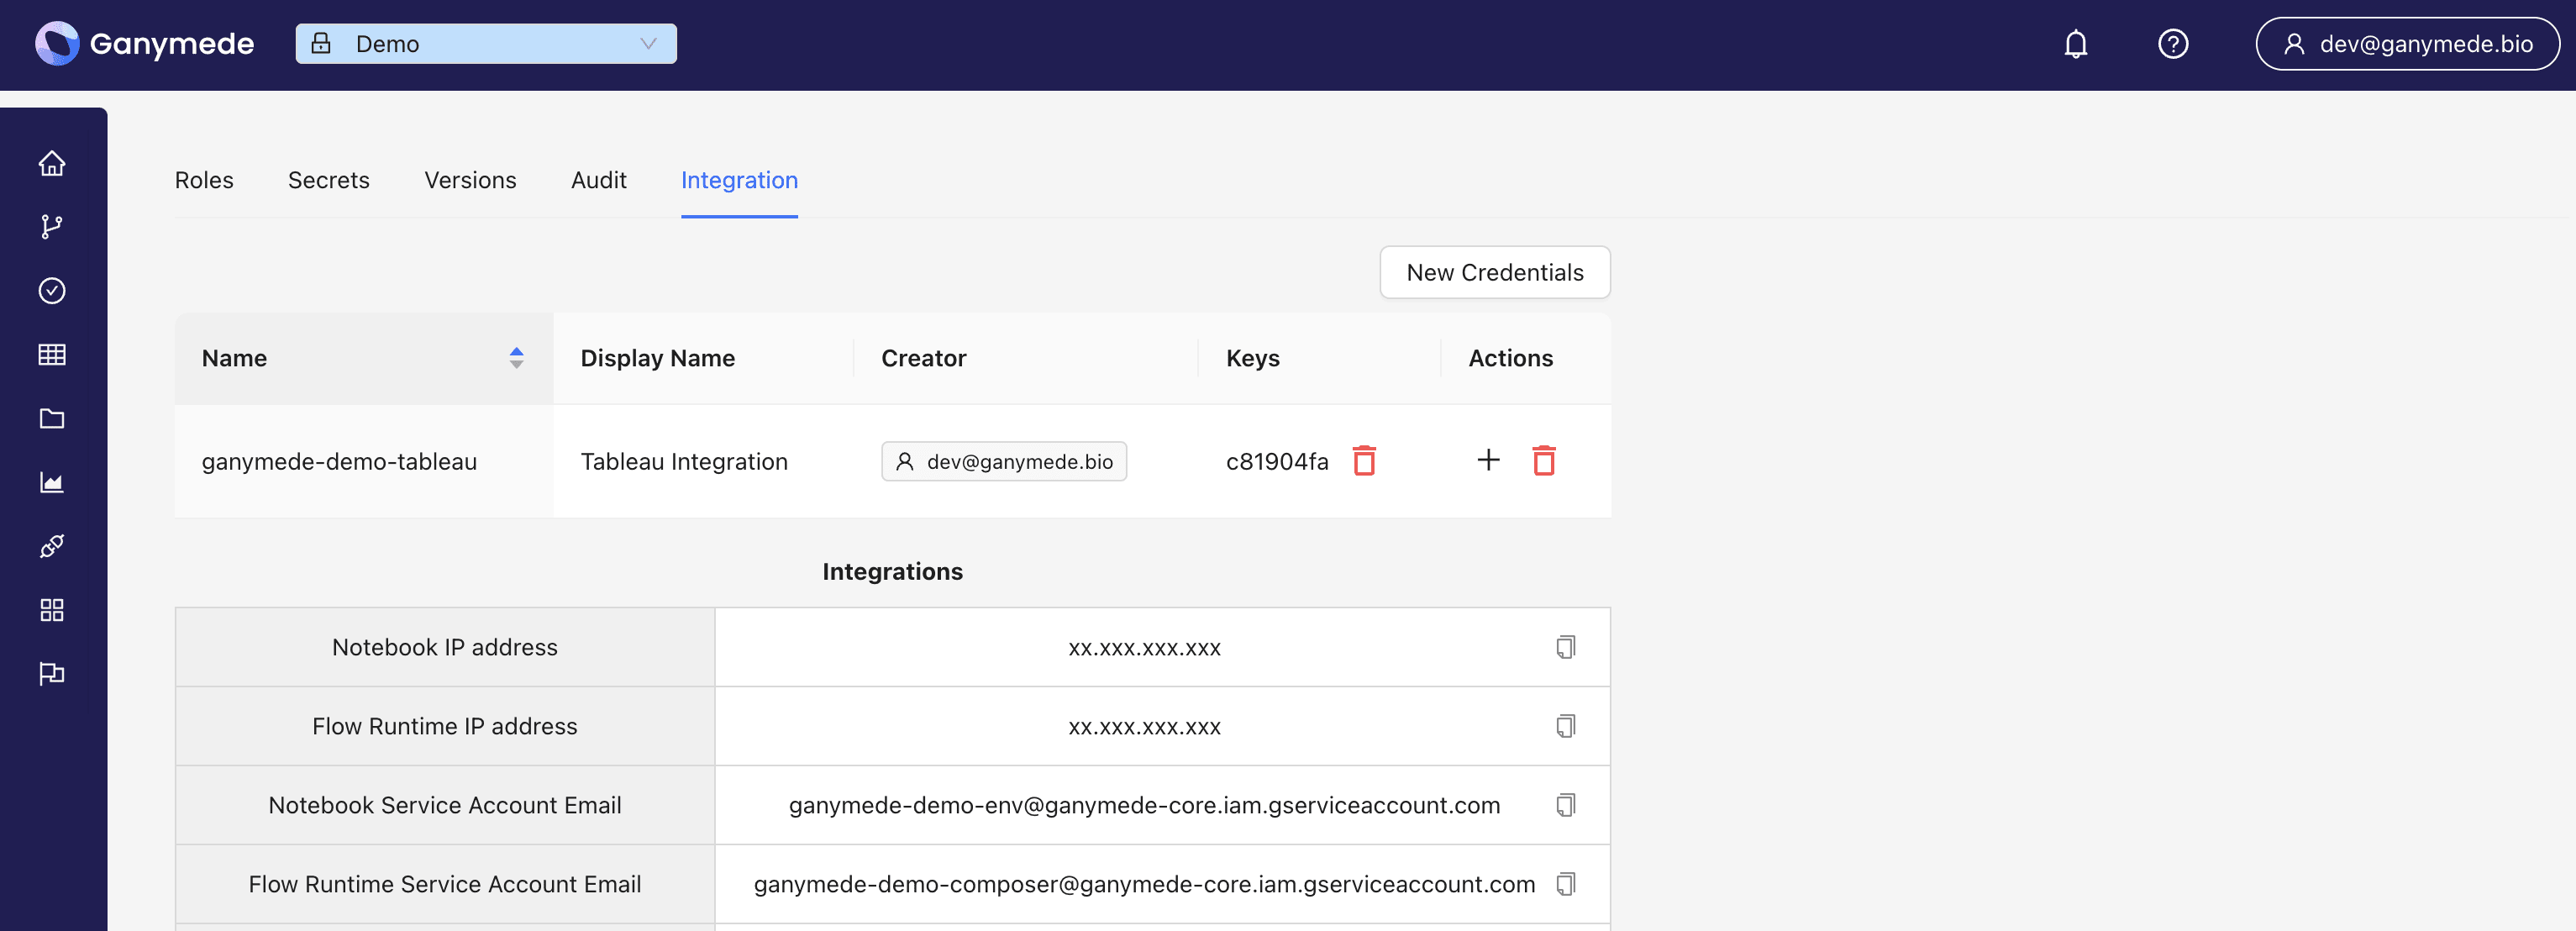
The Integration panel contains details about the Ganymede environment, which can be used for integration with external systems, as well as for IP whitelisting Ganymede.

- Notebook IP address: IP address for hosted notebook environments
- Flow Runtime IP address: IP address for workflow orchestration
- Notebook Service Account Email: Service account for notebooks
- Flow Runtime Service Account Email: Service account for workflow orchestration
- AWS Trust Policy JSON: Role configuration for AWS Policy, to establish connectivity between AWS and Ganymede cloud
- AWS Bucket CORS: CORS configuration for AWS S3 buckets
Using Ganymede to Power External Applications
Ganymede can generate Service Account credentials for use with other tools. Access using these credentials is restricted to read-only data of the environment in which they were generated.
Some examples of tools that can be connected to Ganymede using this approach include:
Dashboarding Software
- Tableau - follow the instructions described in Option 2.
- Looker - follow the Authentication with BigQuery Service Accounts instructions
- PowerBI - follow the instructions to connect to BigQuery using a service account.
- Spotfire - Follow instructions for connecting to an ODBC data source using the Simba BigQuery ODBC driver.
Data Analysis Tools
- Posit (R) - follow the Using the ODBC Package instructions using the Simba BigQuery ODBC driver.
- JMP - Establish a connection to BigQuery using the Simba BigQuery ODBC driver.
- MATLAB - Provide service account credentials using the matlab-google-bigquery package.
- Mathematica - Generate a JSON Web Token (JWT) using the service account credentials in Ganymede. Alternatively, you can use a BigQuery JDBC Driver to connect, as described in this reference doc.
- Excel - Install the Simba BigQuery ODBC driver and reference the data source from Excel.
- Palantir Foundry - Ganymede provides read access, which can be configured using the Foundry BigQuery connector
Generating Service Account Credentials
To do this, follow the steps below:
- Navigate to the Environment Settings page, Integration tab

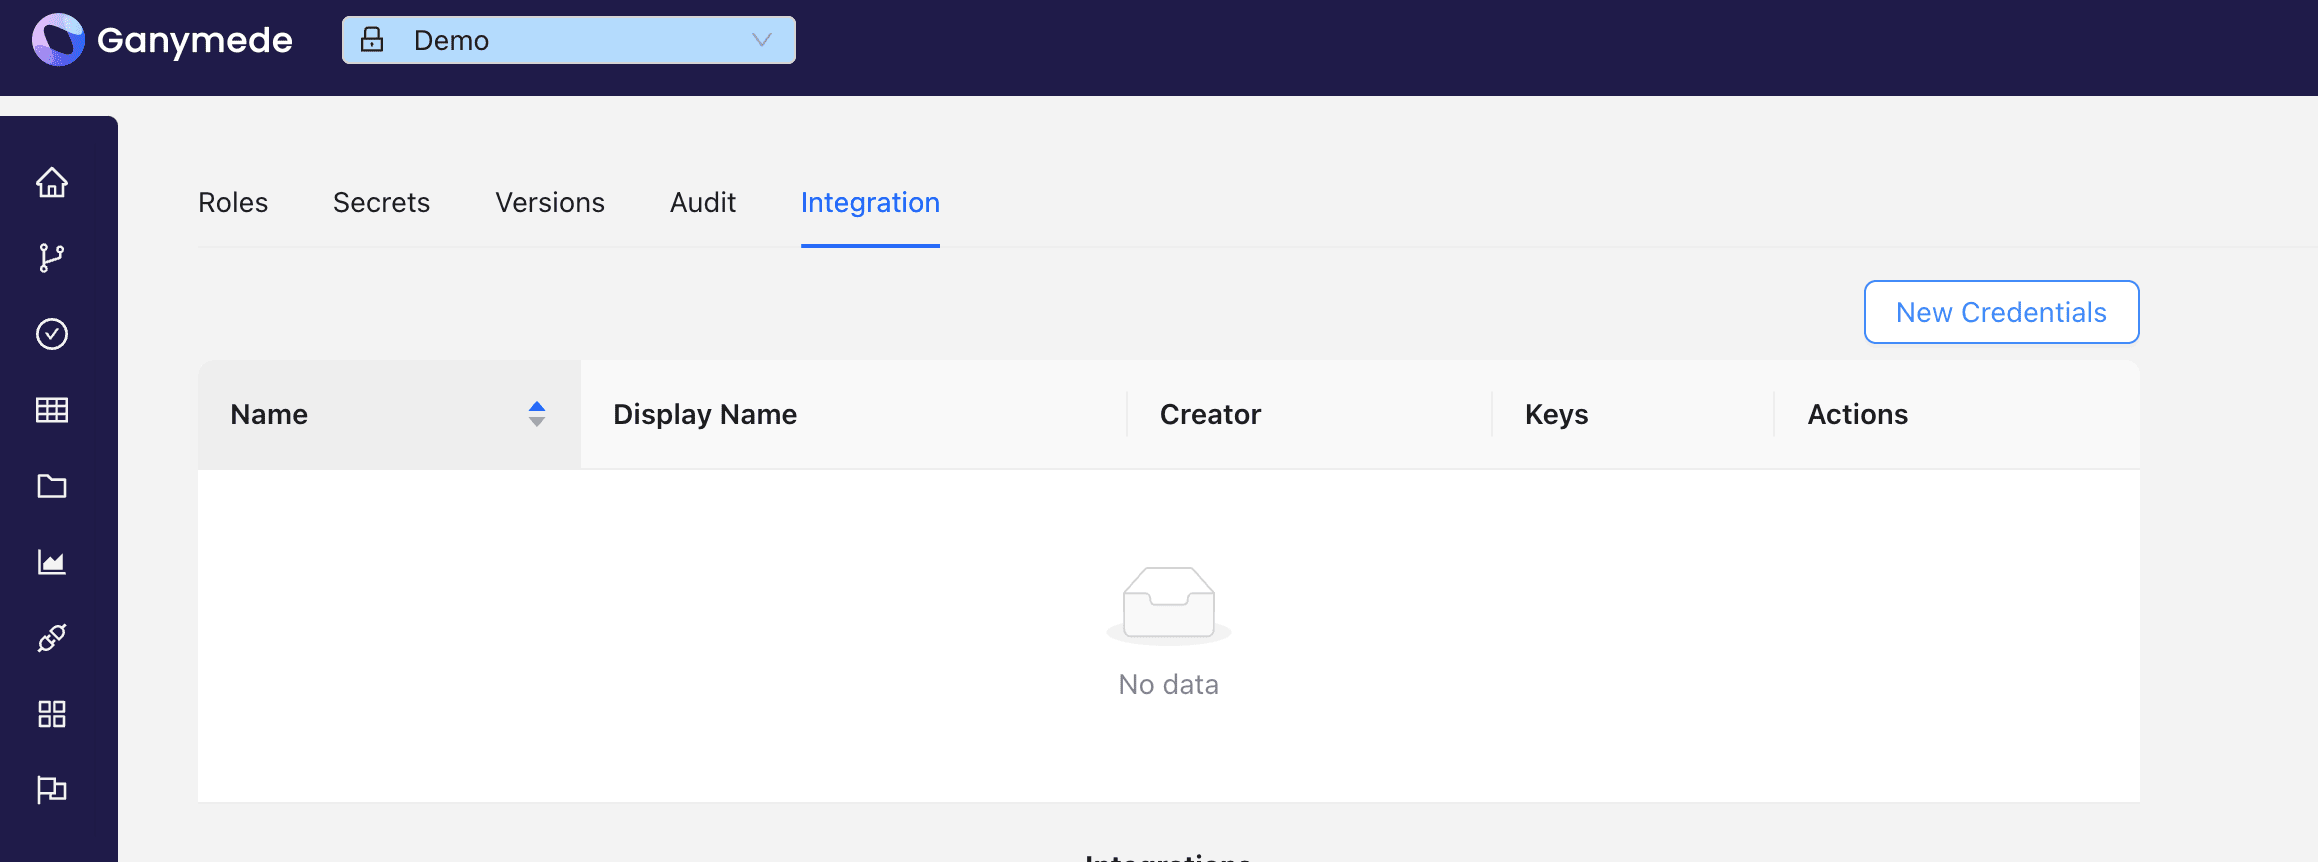
- Select 'New Credentials' and enter a description and name for the Credentials
- Click 'Create'

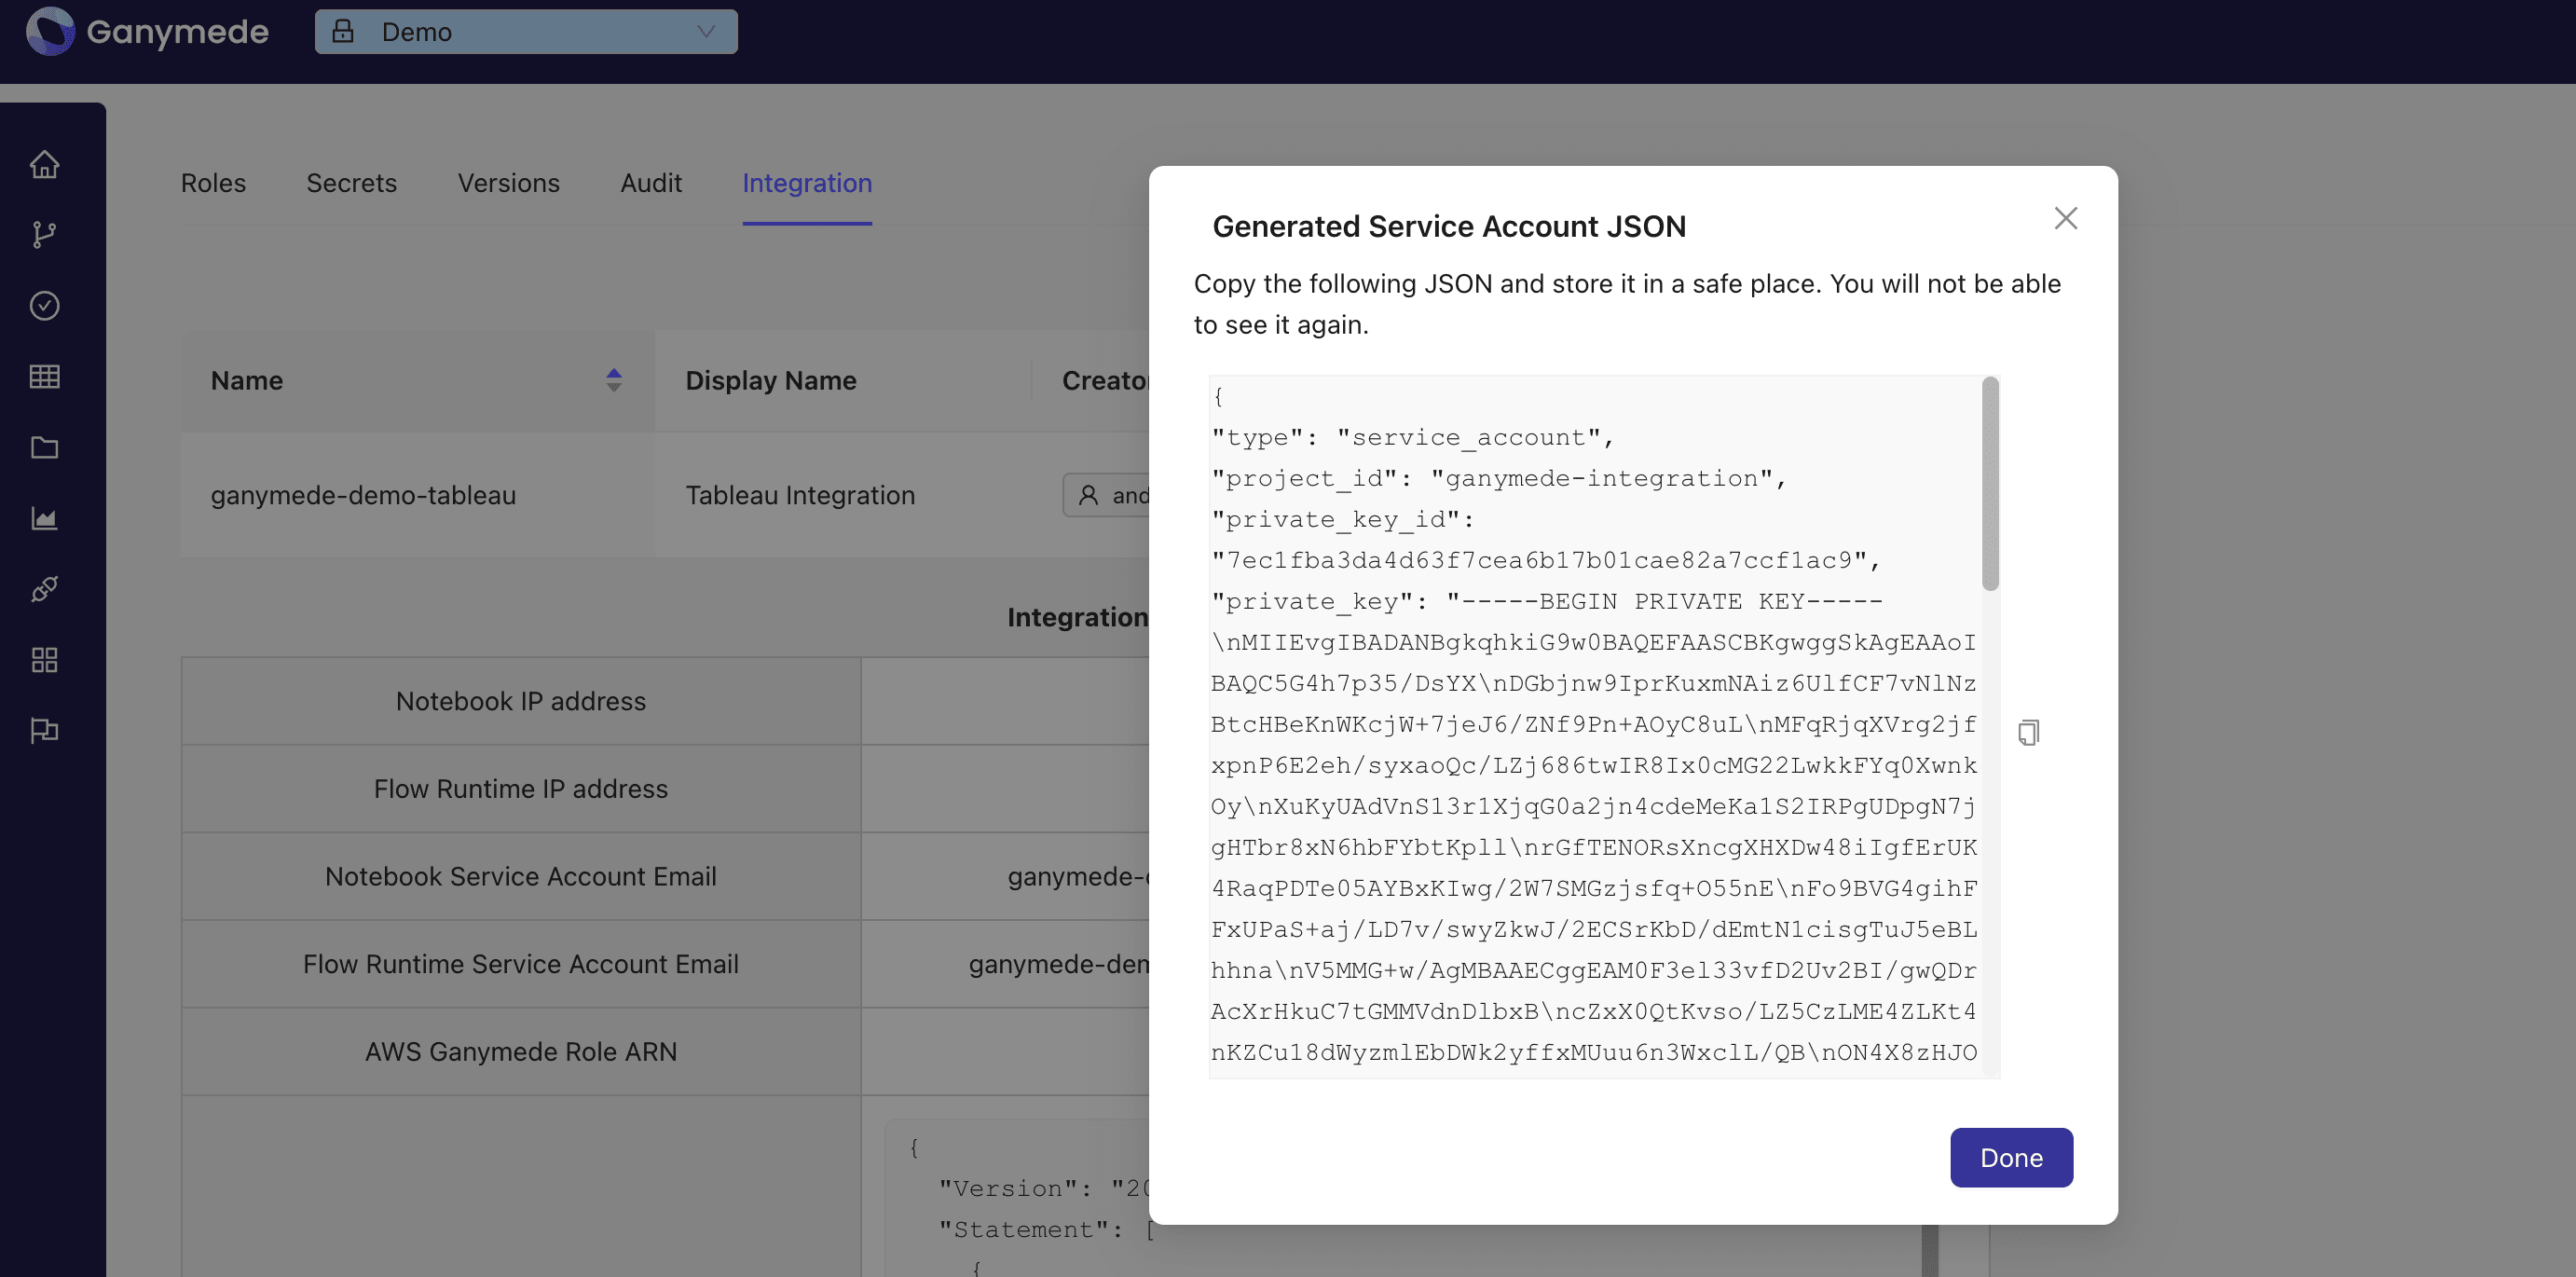
- Copy the JSON key that is displayed and save it to a file.
This key is only displayed once, so be sure to save it in a secure location.
Treat this key as a password, as it provides access to the Ganymede environment.
- Use the JSON key to authenticate with the external tool.
Configuring S3 Bucket Access
In order to allow Ganymede Flows to read and write to an S3 bucket, follow the steps below for each Ganymede environment to configure an AWS role that allows access to the S3 bucket:
- Identify which S3 buckets you would like to connect to Ganymede
- Navigate to the Environment Settings page, Integration tab, and copy the AWS Trust Policy JSON.
- In the IAM console of AWS, create a role with a custom trust policy. Paste in the contents of the AWS Trust Policy JSON inside the policy definition.
- Add the Role ARN as an environment secret in the Ganymede environment named aws_s3_role_arn.