Build an Agent + Configure a Connection
This guide will walk you through the process of creating an Agent to capture and process data from a local instrument PC. You'll create one Connection by installing the Agent on a local Windows machine.
We will follow these steps:
- Sign in to Ganymede
- Create a new Agent to monitor a folder and push files to Ganymede
- Install an Agent Connection on a local PC
- Test the Connection by saving a file to the monitored folder
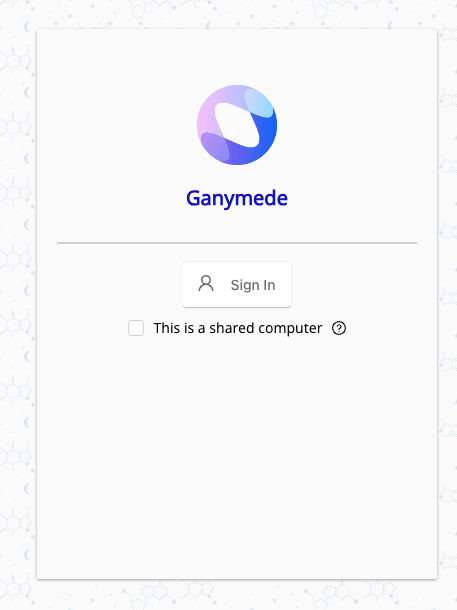
Step 1: Sign into Ganymede
Using Google Chrome, sign into Ganymede. The
button will be available once authentication is configured for your tenant. This is typically a web address accessible via any browser at https://<your_tenant>.ganymede.bio.You may need to enable pop-ups for Ganymede or disable any ad-blocking software for the ganymede.bio domain.
Step 2: Create a new Agent
In the left sidebar, navigate to the Agents tab within the Connections pane and click the
button. This will open a configuration panel for the Agent: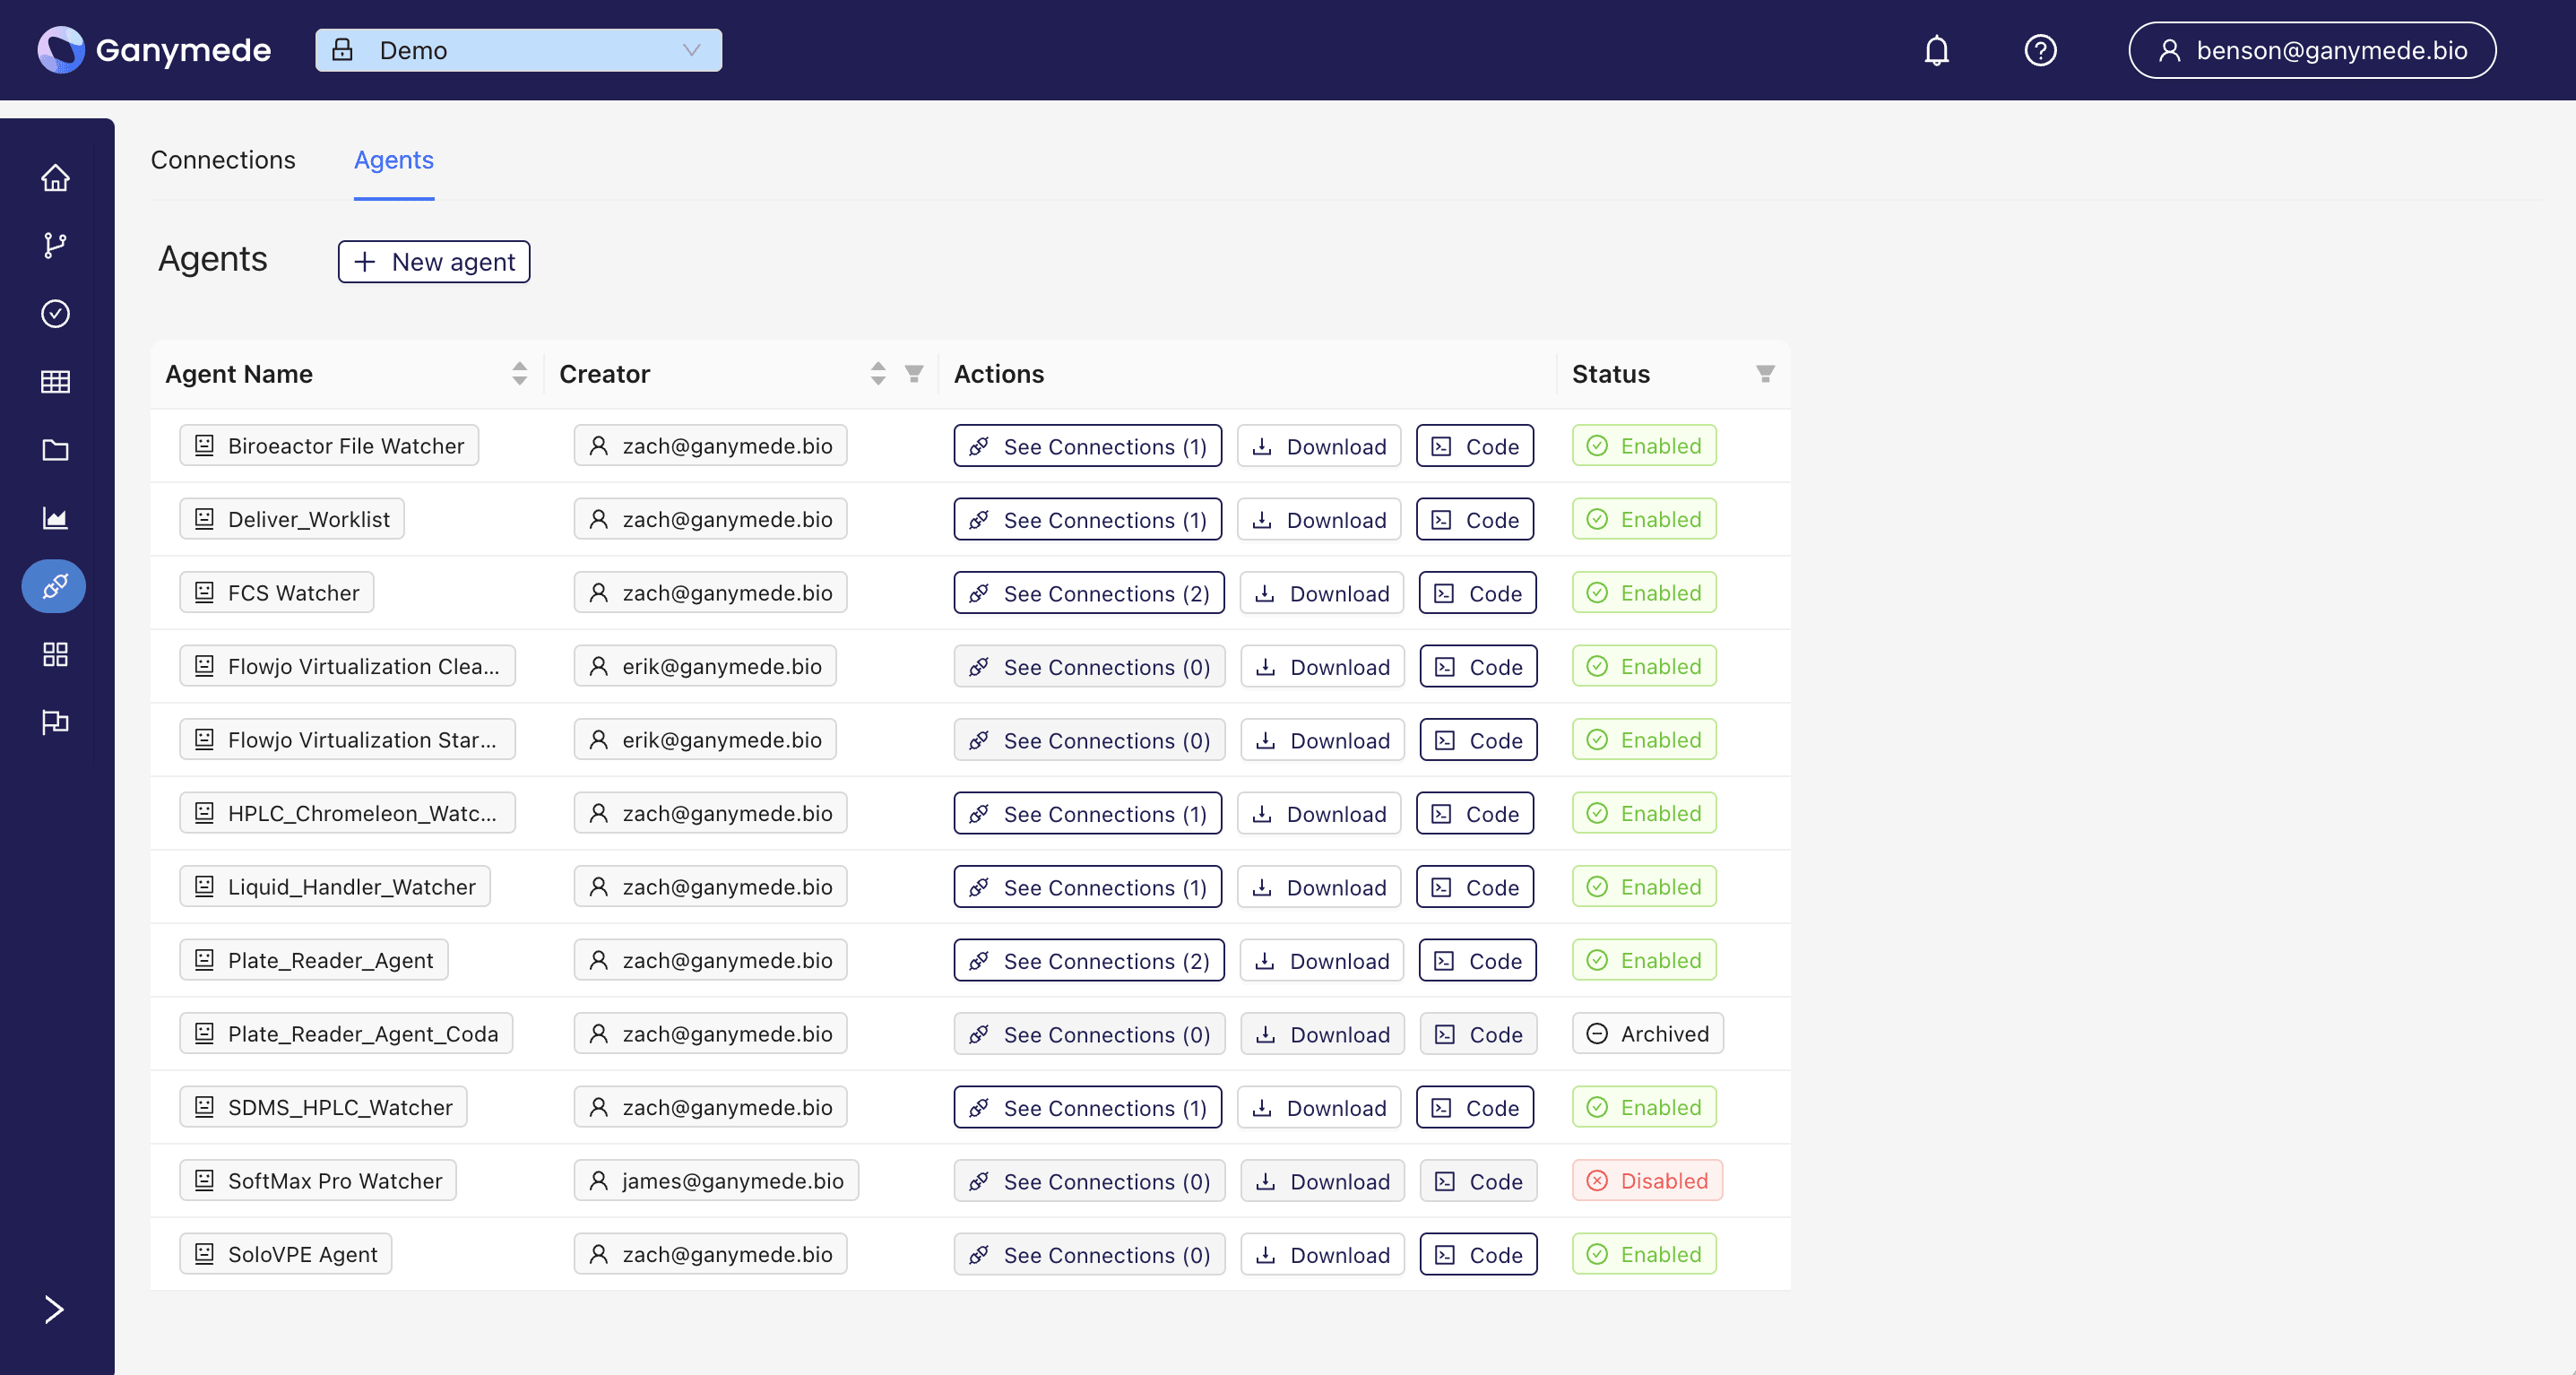
Fill in the configuration fields as shown below. This will create an Agent that monitors a folder on the local PC for files with a ".xlsx" extension and uploads detected files to the selected Ganymede flow for execution.
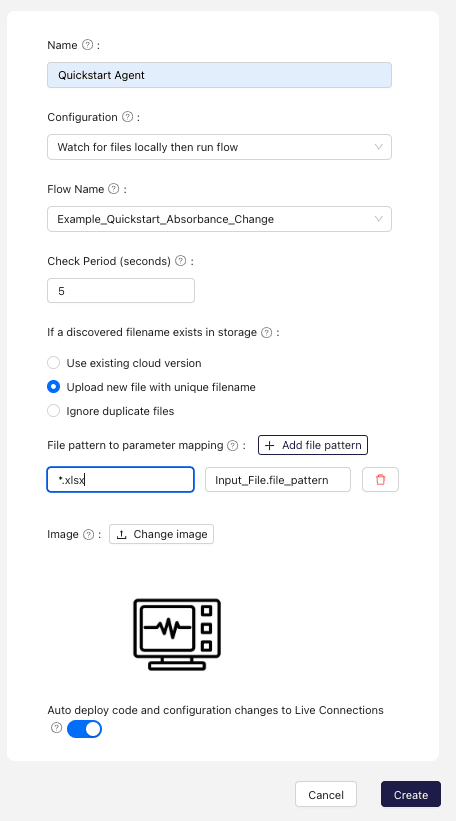
You can choose any name for the Agent. The configuration should remain as "Watch for files locally then run flow." The Flow Name specifies the flow that will be triggered upon file capture; for this Quickstart, we'll use the Example_Quickstart_Absorbance_Change flow, which is pre-configured in every environment.
When the Flow Name is specified, the "File pattern to parameter mapping" section will display 1 row for each node that receives an input file. Populate this field with a glob pattern matching the file path within the directory to be watched.
Click the
button to create the agent. This will initiate the build of an Agent, which will take roughly 20 minutes to complete, and can be monitored by clicking on the in the header bar to view the Notifications page.Subsequent updates to the user-defined code within the Agent will be immediately pushed to existing Connections - typically taking less than 10 seconds to complete. Updating user-defined code does not require Connection reinstallation.
A completed agent build will look like this on the Notifications page:

Step 3: Download and install the Agent Connection
If you're not already on the local PC where the Agent Connection will be installed, navigate to that PC and sign into your tenant (as described in step 1).
Step 3a: Sync Windows time (if necessary)
If the Windows System time is inaccurate, right-click the time in the lower right-hand corner of the Windows taskbar and select "Adjust date/time." In the window that opens, click the "Sync now" button to ensure that the time is synchronized with the internet time server.
Step 3b: Create a folder to monitor
Create a new folder on your Desktop by right-clicking on the Desktop and selecting "New" -> "Folder." Name the folder "watch_folder."
If you choose a pre-existing folder, be aware that the agent will, by default, not process any files that exist in the folder prior to launch.
Step 3c: Download the Agent Installer
Once the Agent build is complete, the associated installer will be available for download from the Agents subsection of the Connections pane. Find your newly created Agent by entering its name in the search bar.

On the local PC where the Agent will be installed, sign in to your tenant (as described in step 1) and download the installer for the Windows Agent by hovering over the
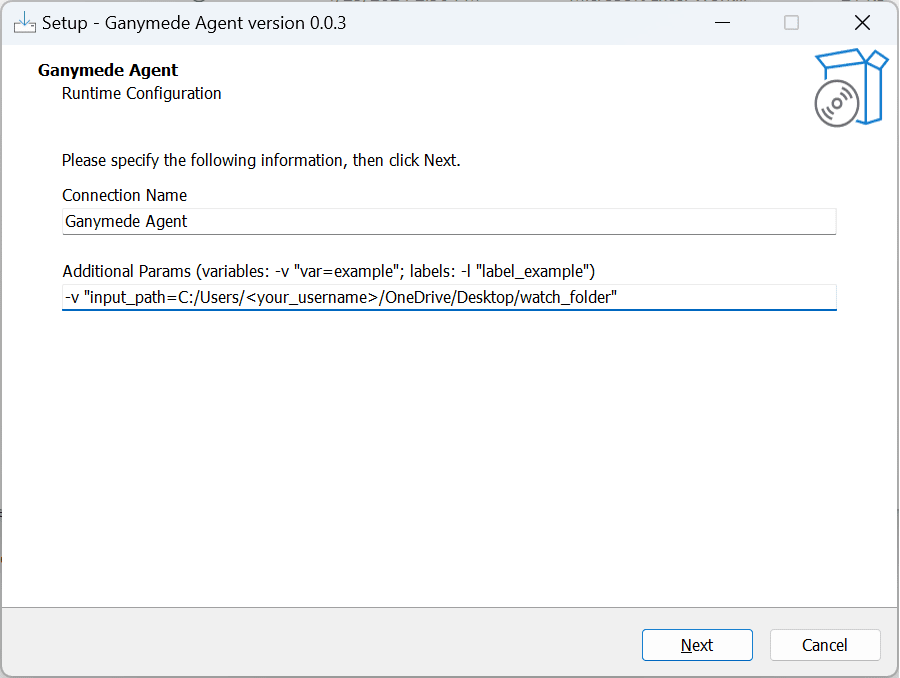
button and selecting Windows.After downloading, run the executable to start the installation process. Name the connection "Quickstart Agent" and enter the path to the folder created in step 3b in the "Watched folder" field.
Be precise when configuring the watch folder path, as errors here can be difficult to troubleshoot. Ensure the input path is correctly specified. For example, if OneDrive is used to back up Desktop files, the path may be "C:\Users\<username>\OneDrive\Desktop\watch_folder."
If OneDrive is not used, the path would typically be "C:\Users\<username>\Desktop\watch_folder." Note that folder paths can be specified using either forward or backward slashes.
To check this configuration, verify the input_path variable on the Connections page associated with Quickstart Agent after completing this guide.
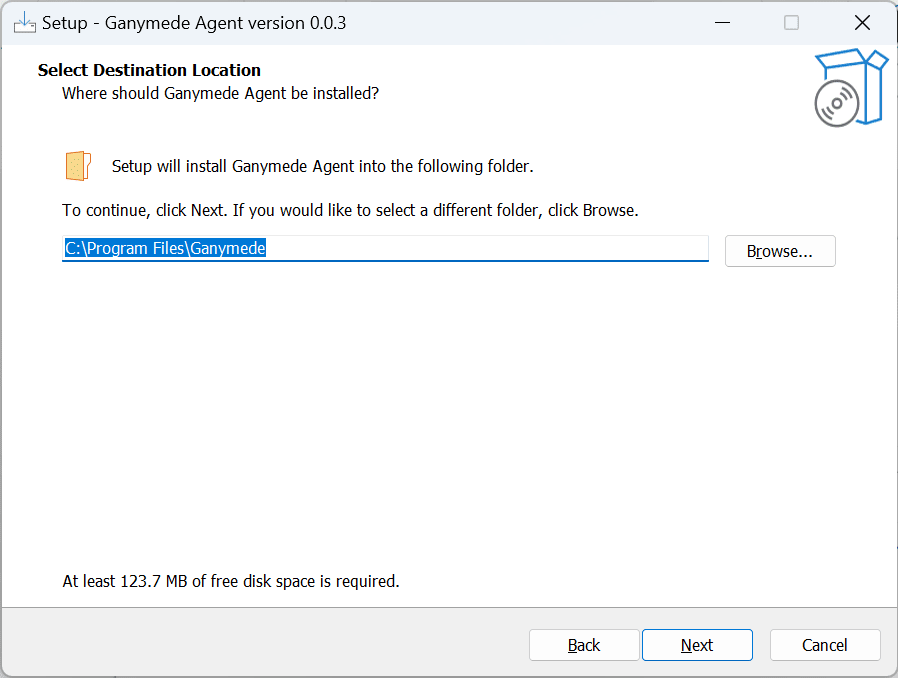
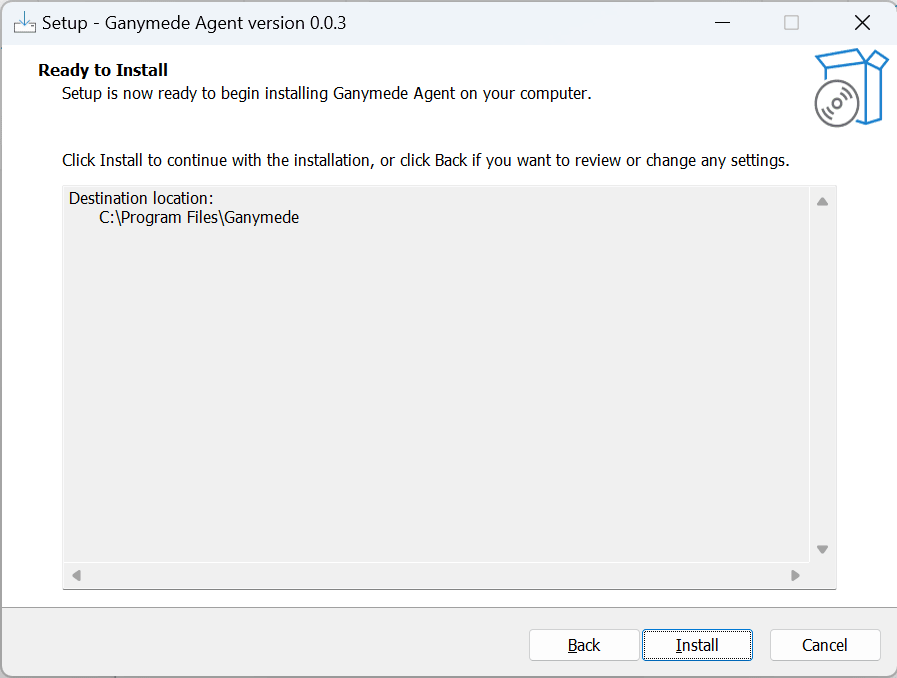
Choose the desired installation location and proceed through the installer to complete the installation.
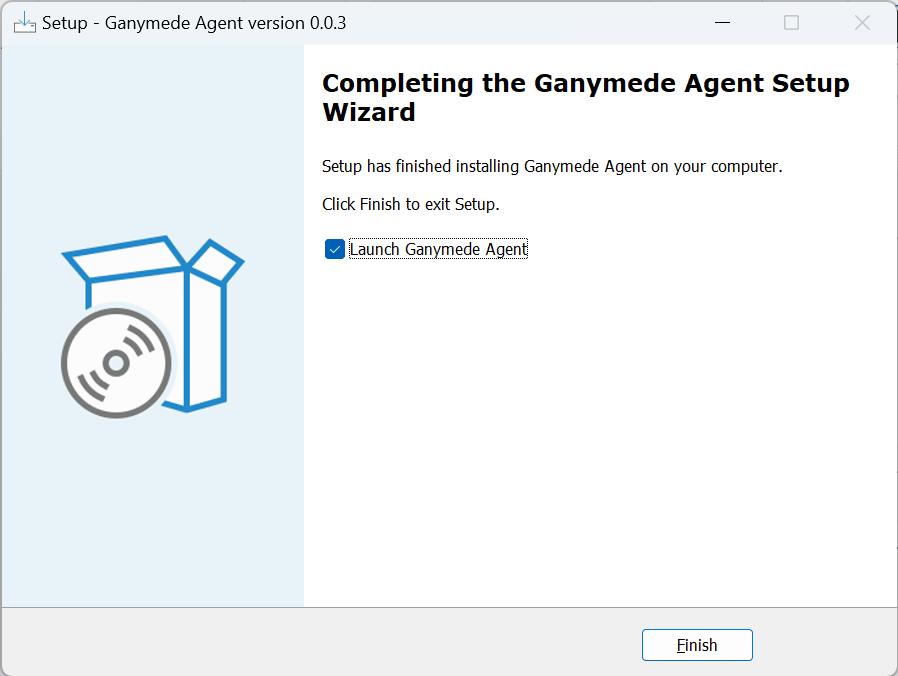
The Agent Connection will launch automatically once installation is complete.
Step 4: Configure Tags for the Connection
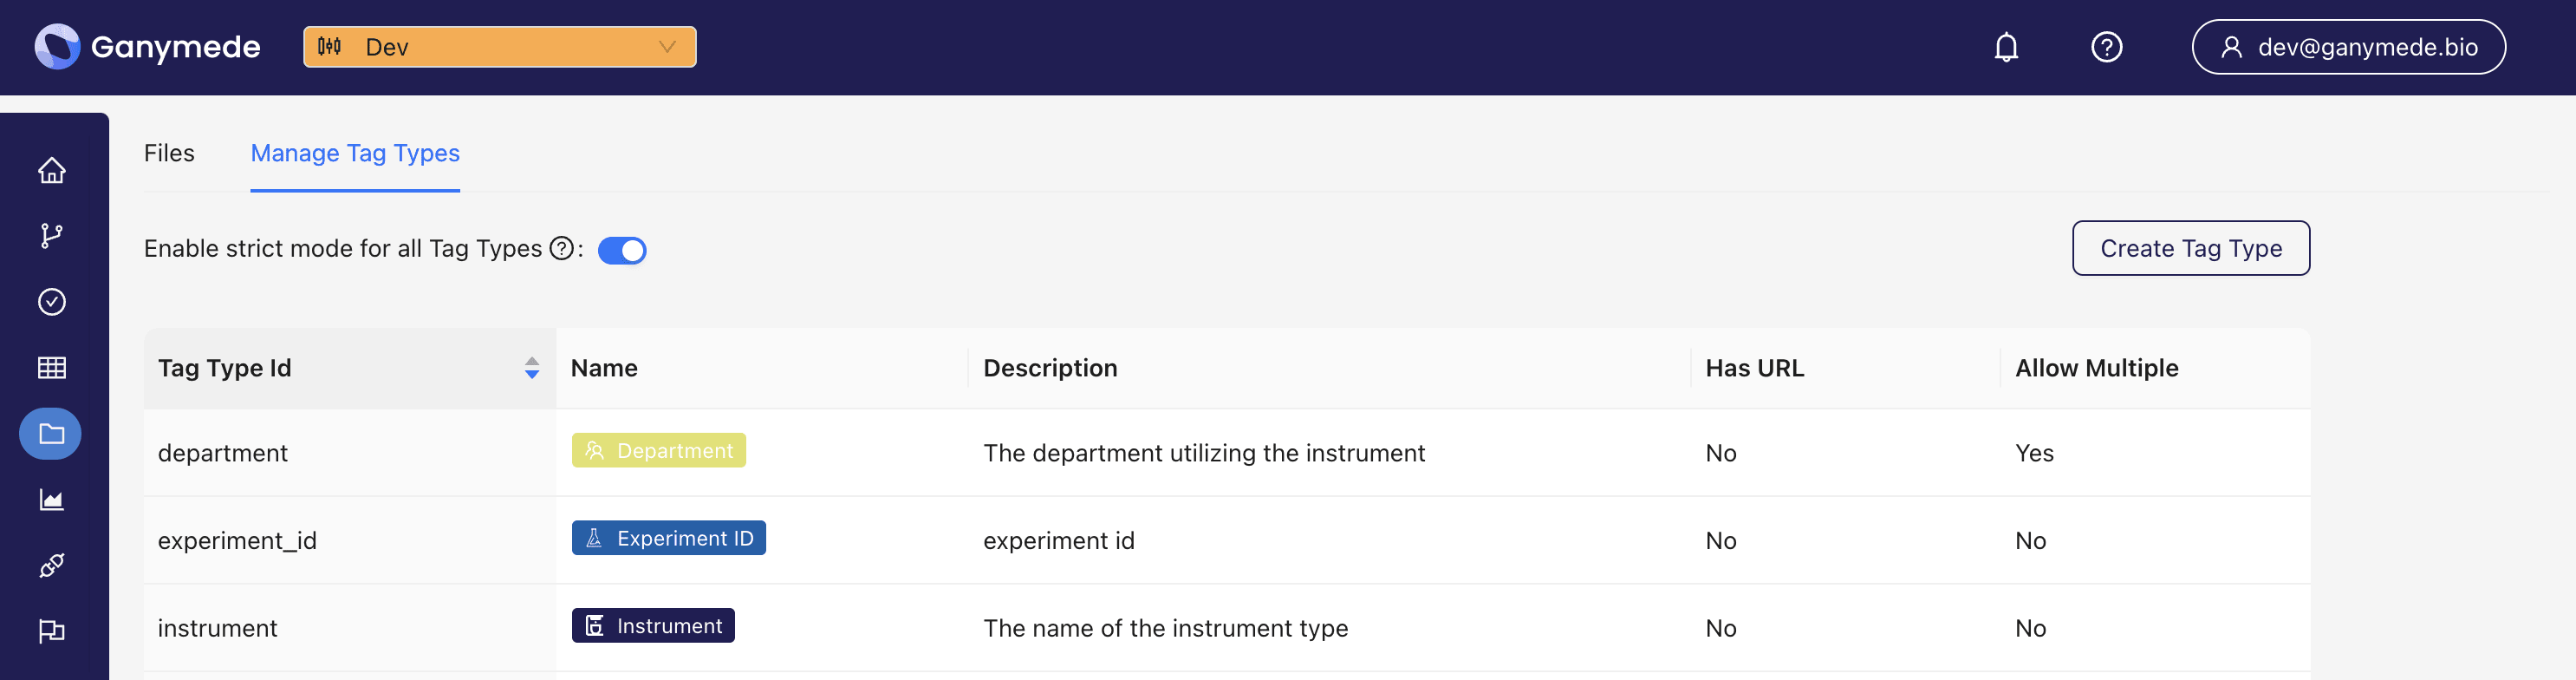
Step 4a: Configure a Tag Type
Navigate to the Ganymede web app. Click on the Files tab in the sidebar of the Ganymede application and select the "Manage Tag Types" tab. Configure a new tag type with the name "Instrument" and the description "The name of the instrument type", similar to what is shown below:
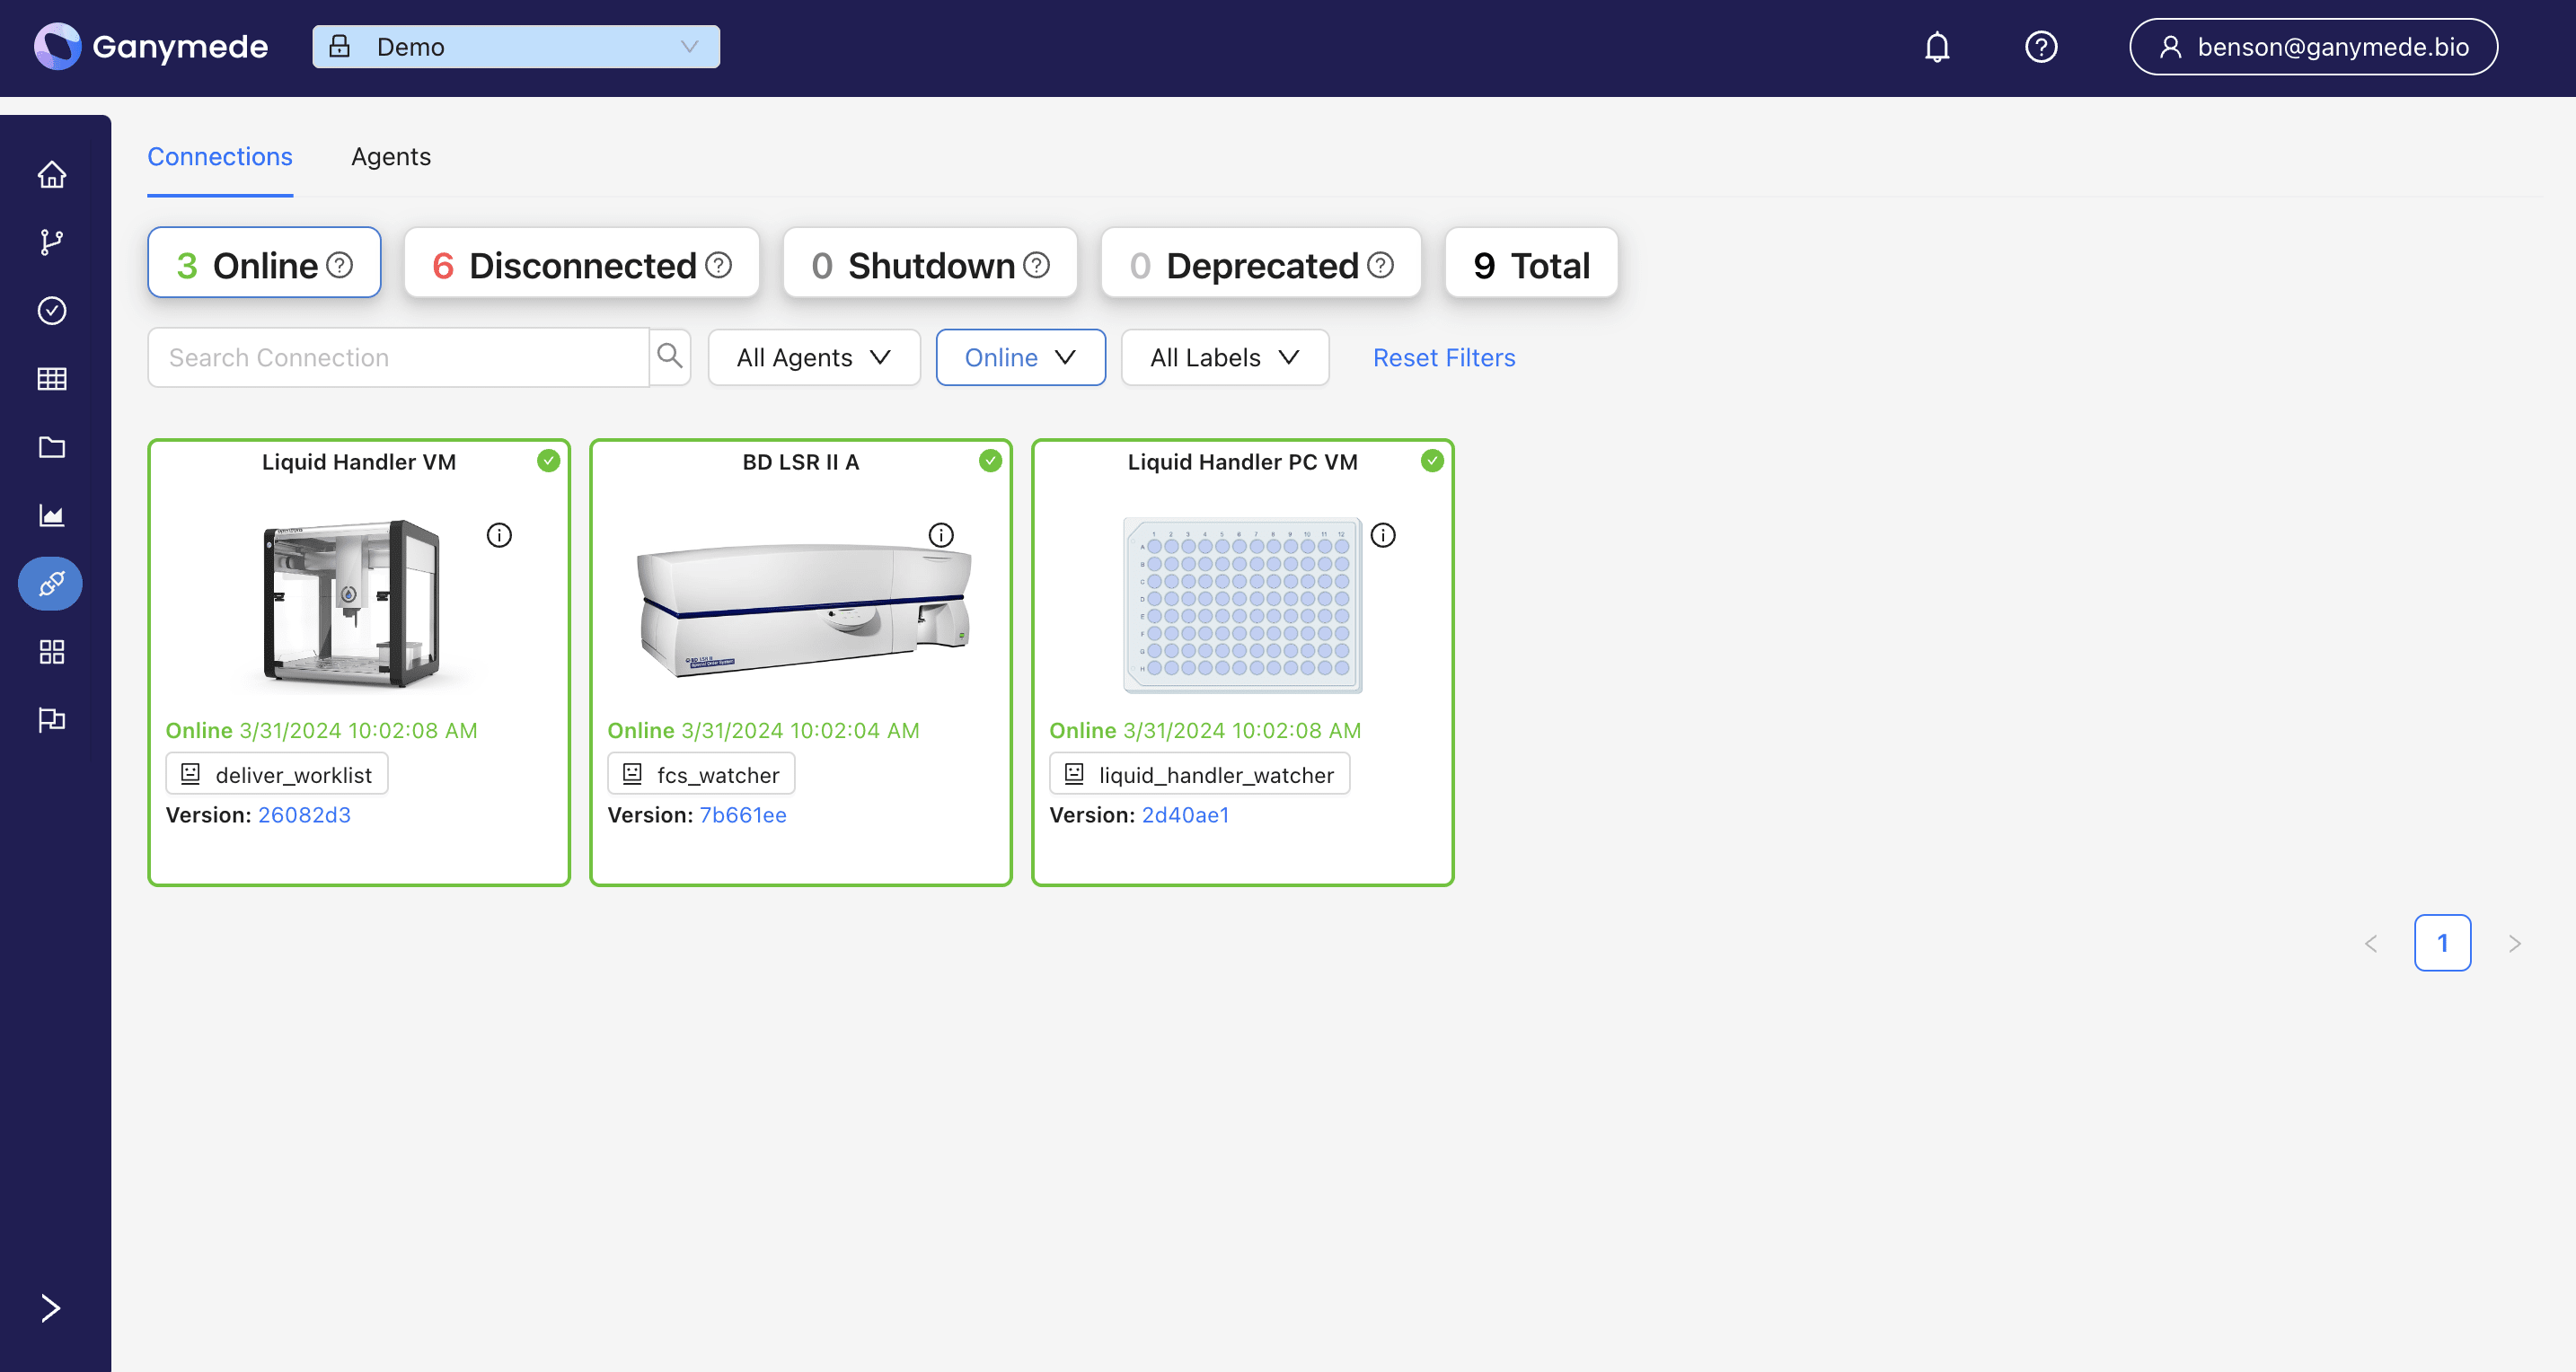
Step 4b: Configure Connection for Tags
Navigate to the Connections tab in the sidebar and confirm that your Agent Connection is Online. Click on the Connection name to open the Connection details page. In the Connection Settings box, click on
, followed by . Select the "Instrument" tag that you have just created and the value "Plate Reader" to the Connection, click Add Tag, and then Save the configuration.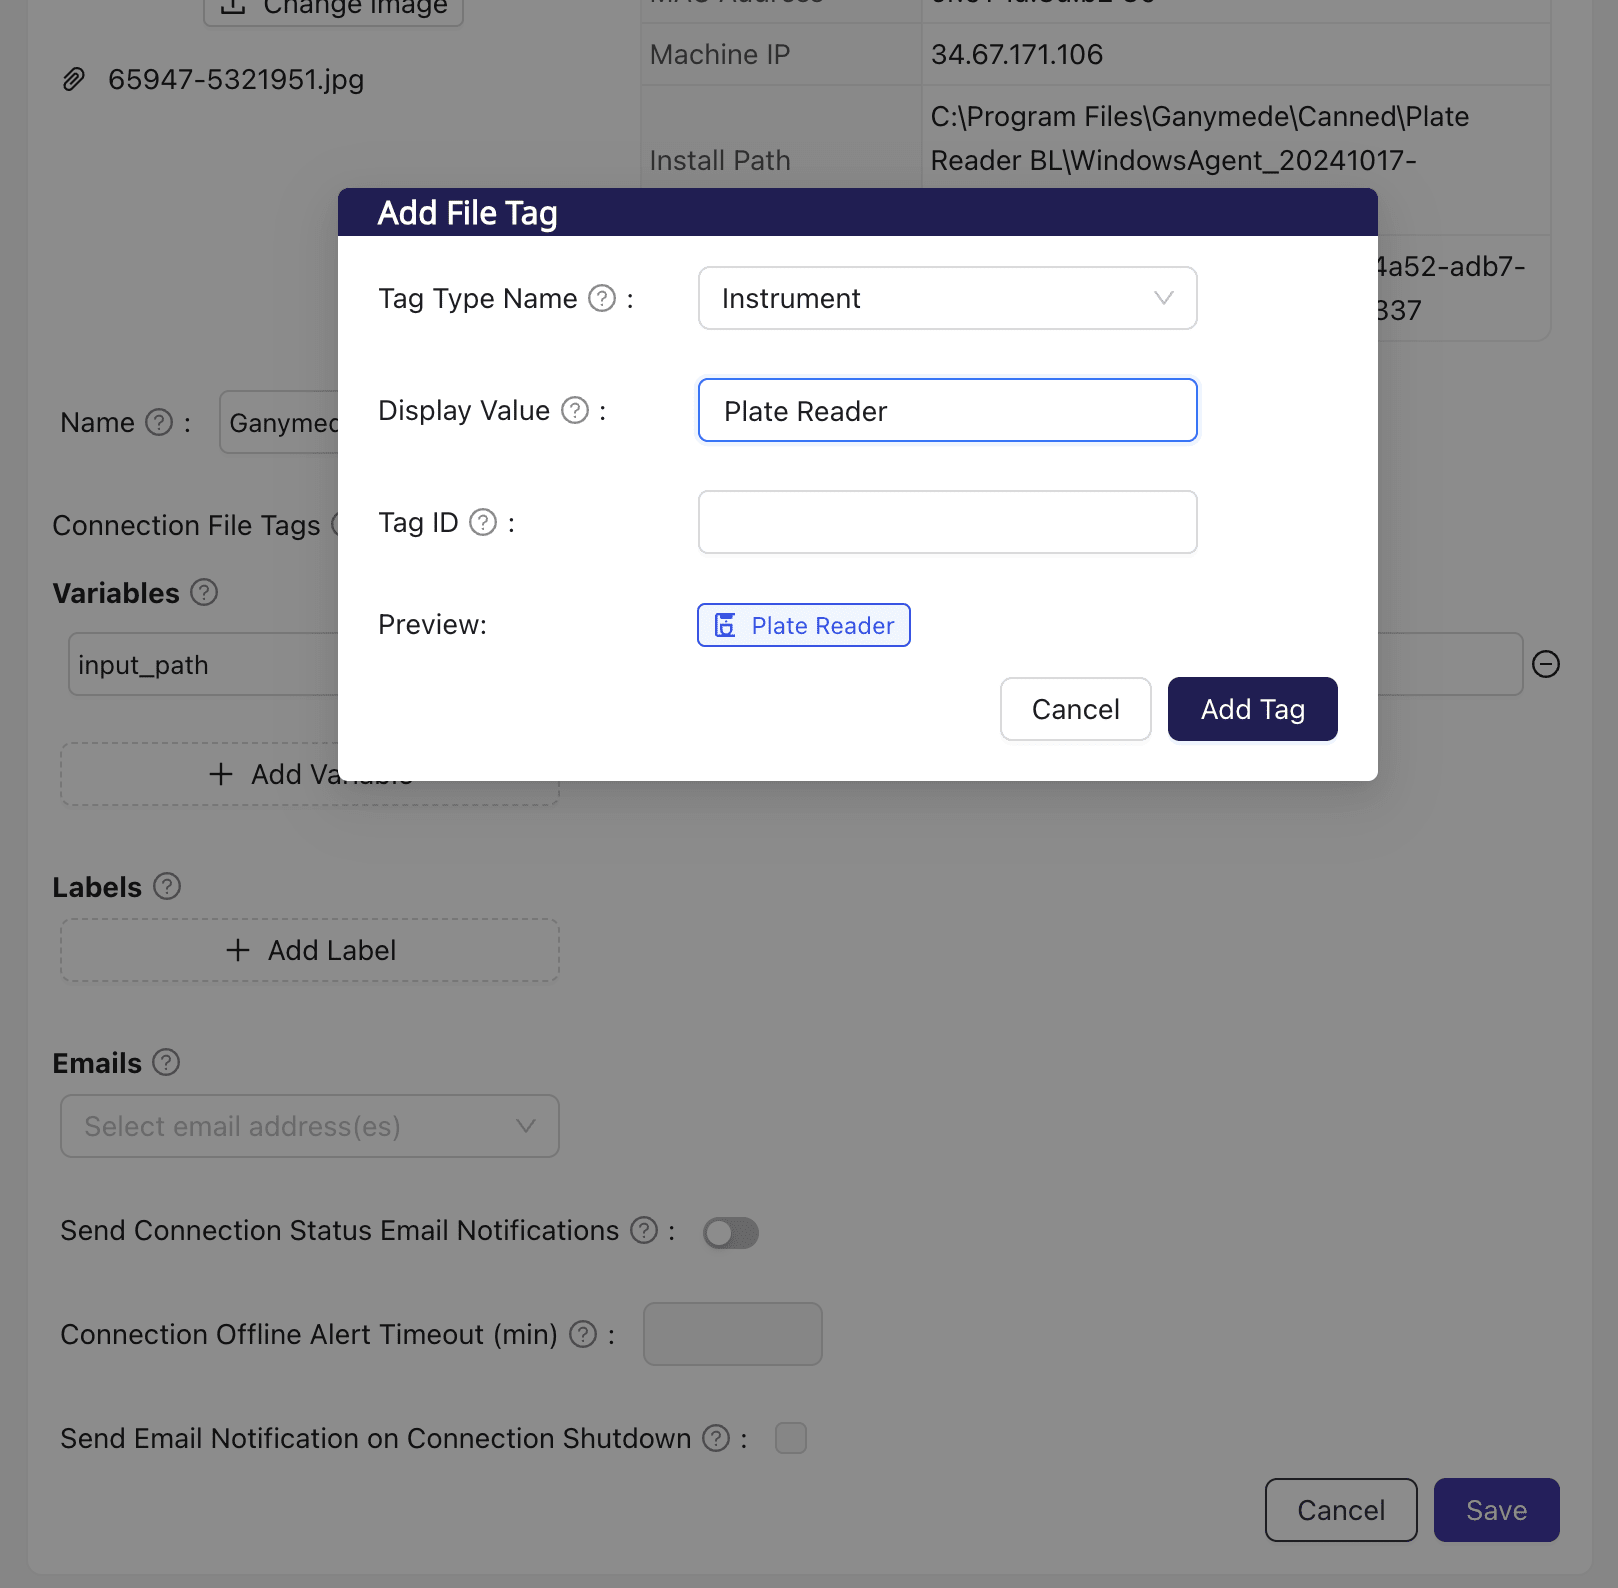
Tags are useful for ensuring raw files retain experiment, user, sample, or other metadata. A list of potential tags of interest can be found on the Suggested Tag Types page.
Step 5: Test the Connection
On the instrument PC, drop the sample plate reader file into the "watch_folder" created in step 3b. The agent will detect the file and upload it to the Ganymede Flow for processing.
Any window with the environment open will display that the Flow has been initiated. Congratulations on creating your first Agent!

If you encounter any issues with this Quickstart, please visit the Troubleshooting Agents page or contact Ganymede Support.
Next steps
Now that you have successfully created and installed an Agent, you can explore more about:
- The different Agent configurations available. Examples include:
- An Agent that runs on a recurring schedule
- An Agent that executes local processing when a file stored in cloud storage
- How to modify the agent code to add custom functionality, such as
- Adding tags to files to make captured files easier to find in Ganymede
- Parsing metadata from file contents to determine how files are processed
- Delivering multiple files into a single Node
- Incorporating Agent utility functions from the Ganymede SDK and Agent SDK
- Interpreting Agent log messages