SSO/SAML Configuration
Overview
This page describes how to configure SSO (Single Sign-On) and SAML (Security Assertion Markup Language) for Ganymede, depending on your SAML provider.
Okta
Follow these instructions in Okta’s documentation to create a new Okta SAML application.
The following fields should be used in your application:
| Field | Notes |
|---|---|
| Single sign on URL | https://ganymede-core.firebaseapp.com/__/auth/handler |
| Audience URI | ganymede.bio |
Hide this SAML application tile from users - there are instructions below that explain how to create an Okta tile of Ganymede.
Once complete, the following information from your Okta application should be provided to Ganymede:
| Field | Notes |
|---|---|
| Public Certificate | Must start with "-----BEGIN CERTIFICATE-----", and end with "-----END CERTIFICATE-----". |
| Identity Provider Issuer (Entity ID) | https://www.okta.com/{unique_key} |
| Identity Provider Single Sign-On URL (SSO URL) | https://{org}.okta.com/app/{org}_ganymede_1/{unique_key}/sso/saml |
On the right-side panel of the Okta application window, there is a link to SAML setup. The fields above can be found in that window, and should be shared with Ganymede.
Create Bookmark App
There is a known issue between Okta and Firebase, where the Okta tile will not redirect properly to the Ganymede site. After the SAML application above is configured and working properly, create a new Okta bookmark application that links to your Ganymede tenant.
The png below can be used as the image for the Ganymede tile:

Google
Follow these instructions in Google's documentation to create a new Google SAML application.
The following fields should be used in your application:
| Field | Notes |
|---|---|
| ACS URL | https://ganymede-core.firebaseapp.com/__/auth/handler |
| Entity ID | ganymede.bio |
Once complete, the following information from your Google application should be provided to Ganymede:
- SSO URL
- Entity ID
- Certificate
Azure
Follow these instructions in Microsoft's documentation to create a new Azure SAML application.
The following fields should be used in your application:
| Field | Notes |
|---|---|
| Identifier (Entity ID) | ganymede.bio |
| Reply URL (Assertion consumer service URL) | https://ganymede-core.firebaseapp.com/__/auth/handler |
| Sign on URL | {client}.ganymede.bio |
Once complete, the following information from your Azure AD SSO application should be provided to Ganymede:
- Certificate (Base64) - This can be found within the SAML Signing Certificate section
- Azure AD Identifier - This can be found within the Set up SSO Demo section
- Login URL - This can be found within the Set up SSO Demo section
Shibboleth
Please ensure the following service-provider (SP) metadata is uploaded to IdP:
| Field | Value |
|---|---|
| Identifier (Entity ID) | ganymede.bio |
| ACS (Assertion Consumer Service) URL | https://ganymede-core.firebaseapp.com/__/auth/handler |
Also, please ensure the following metadata format:
| Field | Notes |
|---|---|
| Name ID | urn:oasis:names:tc:SAML:1.1:nameid-format:emailAddress |
The XML for the SP metadata can be found here.
Once complete, the following information should be provided to Ganymede, either directly or through a shared metadata XML page:
- Entity ID - this should be the URL of the metadata XML page if available
- SSO URL - this should correspond to HTTP-Redirect location metadata
- Certificate
Logging In on a shared computer
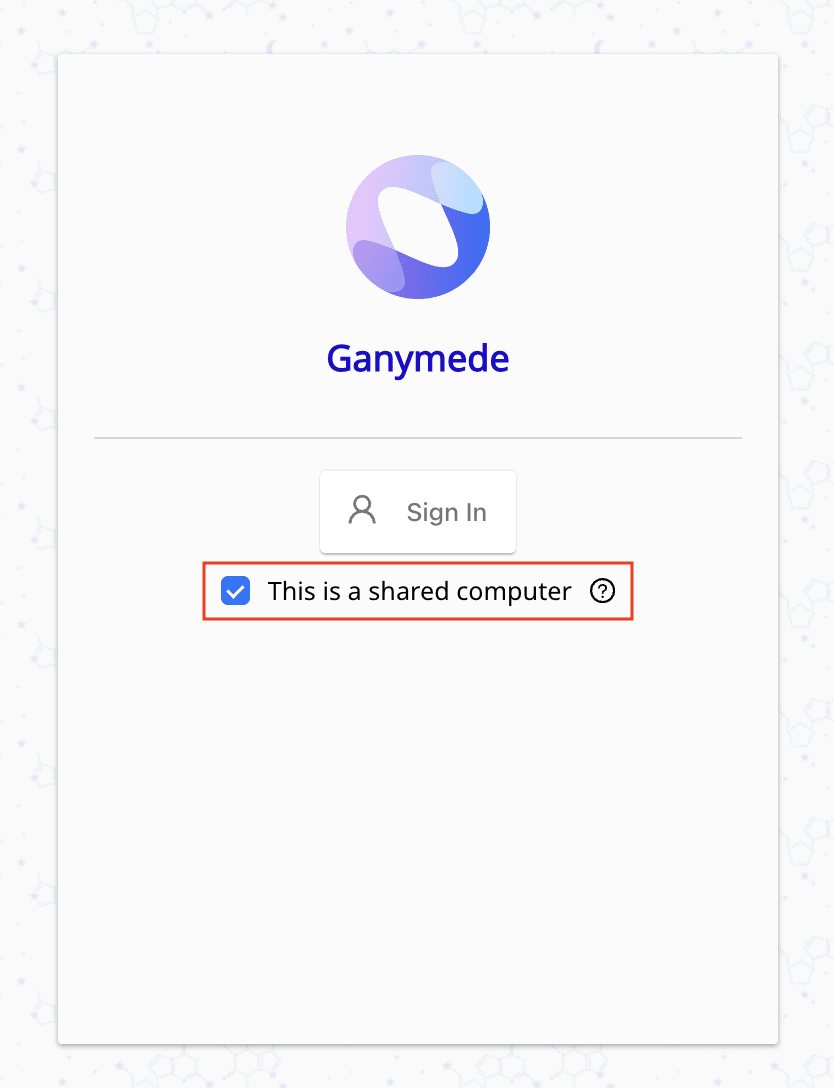
Users should see a "Sign in with SSO" button on the Ganymede login page once SSO/SAML is configured, or be able to access Ganymede via their internal identity provider.
For logins, on shared computers, users can select the "This is a shared computer" option to automatically log them out upon closing the application.
We recommend enabling this feature for shared lab workstations to ensure that users are securely signed out without needing to manually log off after their session.
